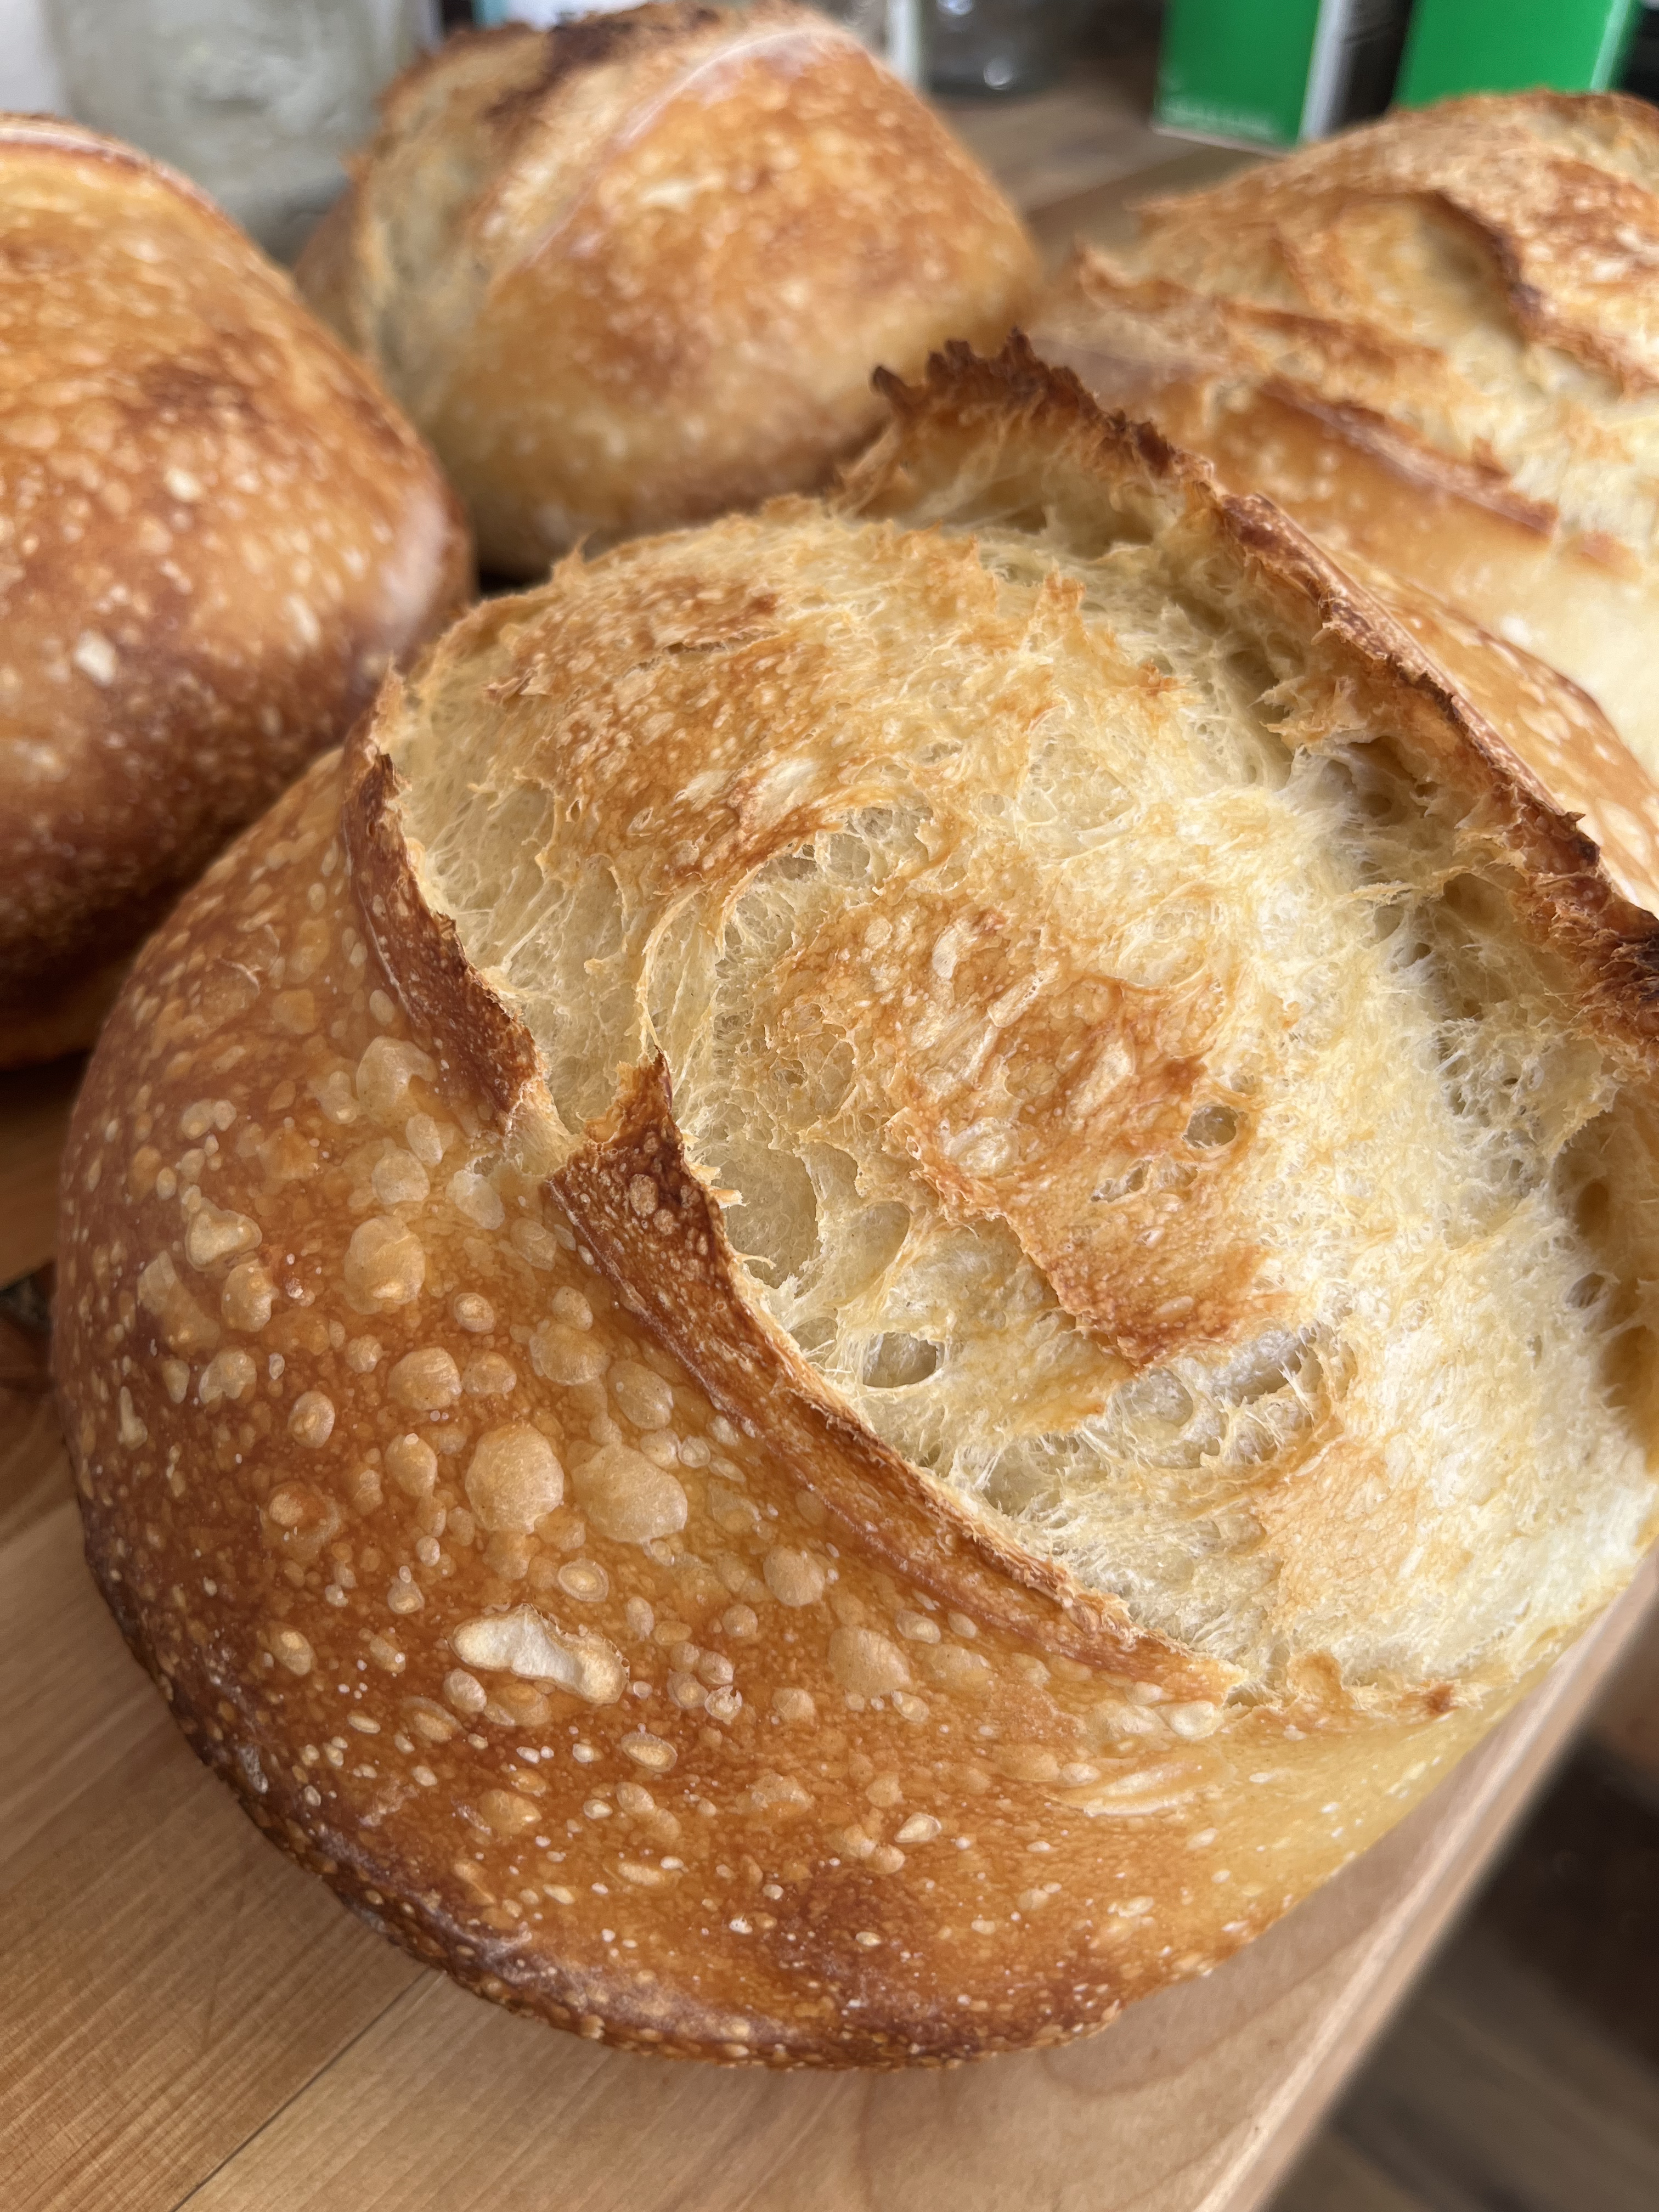
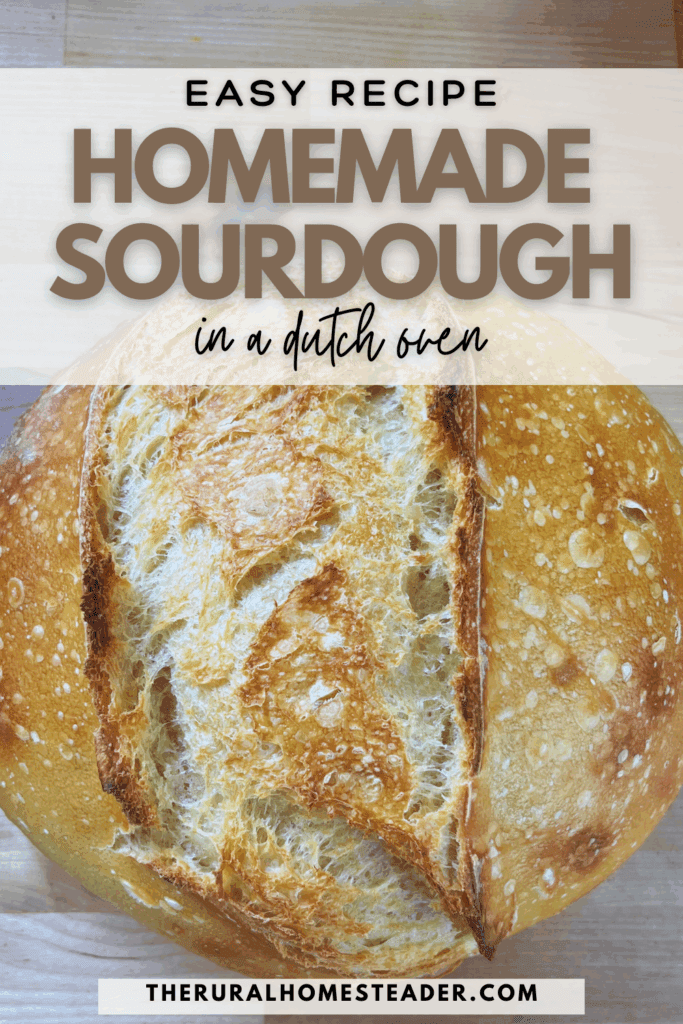
The Best Homemade Sourdough Bread
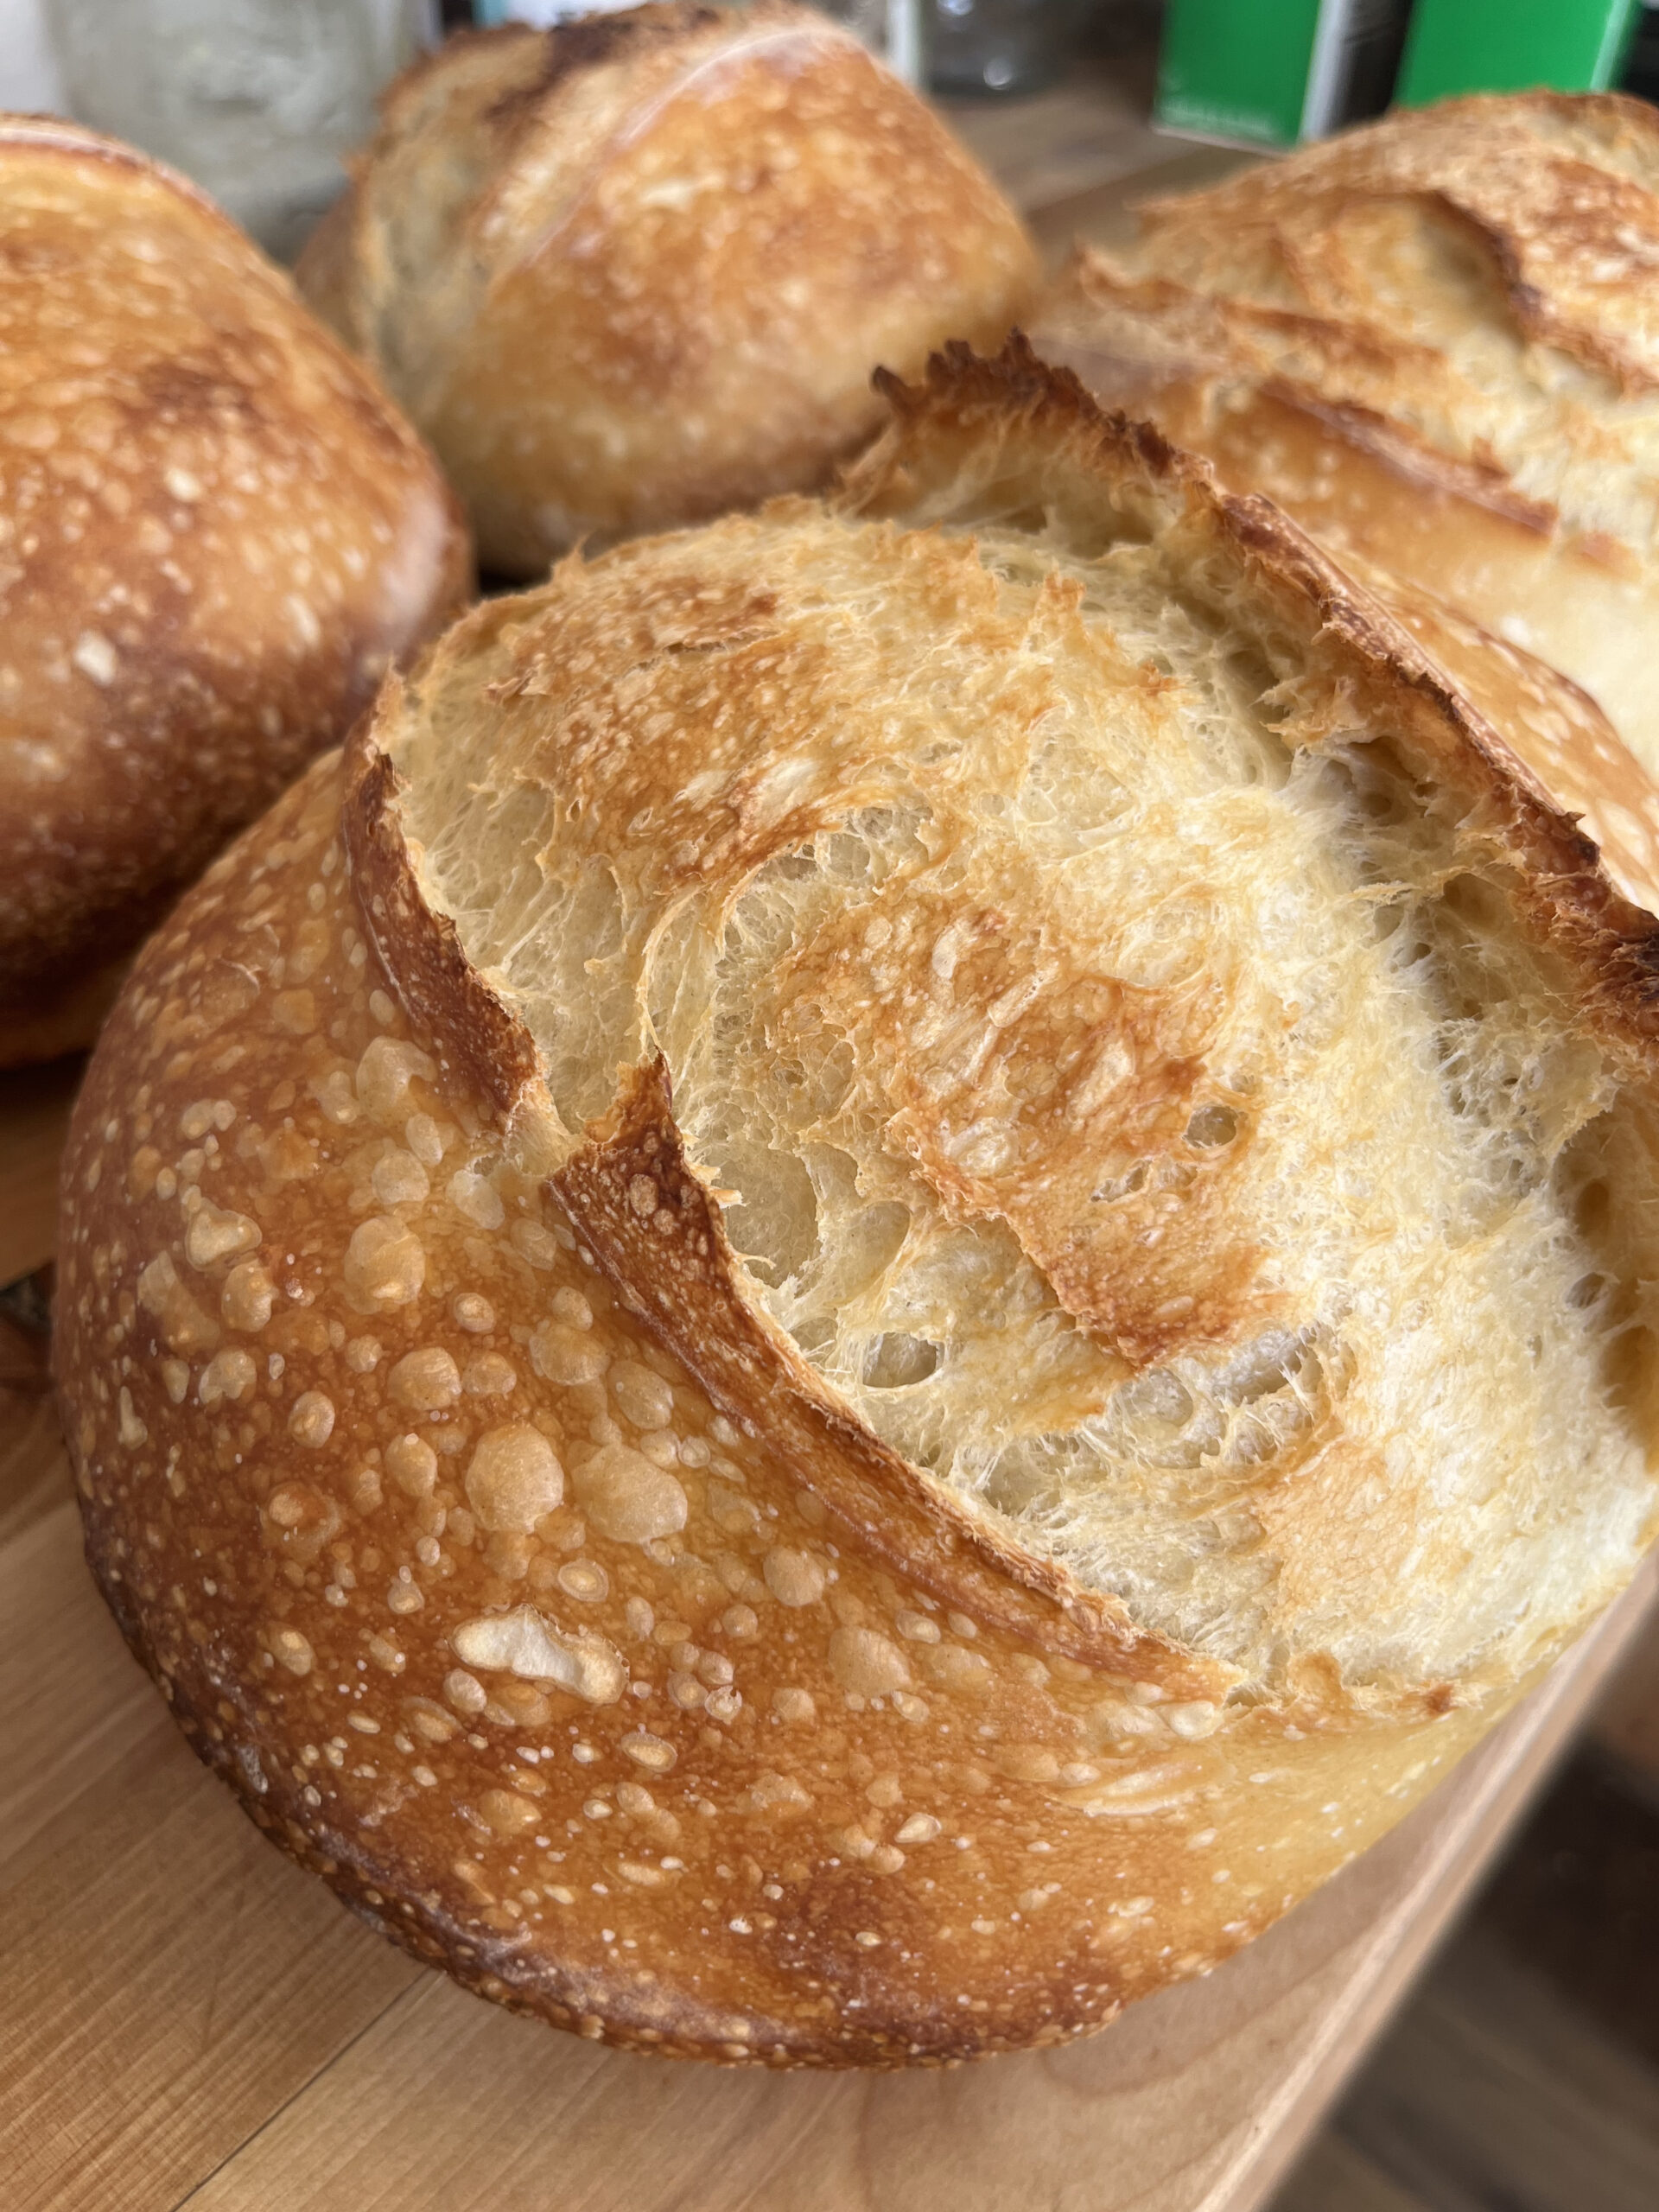
This is the best homemade sourdough bread! My all time favorite recipe, it tastes delicious and has a soft and tender crumb with a chewy crust! Whether you are a beginner or seasoned sourdough baker, this recipe is easy to follow!
Why Sourdough?
I have loved sourdough bread my entire life. The tangy taste and the chewy crust are so delicious! There are other benefits to sourdough aside from the taste though! This is the best homemade sourdough recipe!
Although my husband isn’t a fan of sourdough, my kids love it! They love helping with the process and baking their own bread! Sourdough is healthier for you than regular bread. Even some gluten-intolerant people (such as myself) can tolerate it without negative side affects! (I also have a gluten-free sourdough recipe for those who cannot tolerate gluten what-so-ever.)
Why is sourdough a healthier alternative to regular bread? The flour has been fermented, which breaks it down and makes it easier to digest. Sourdough is also less likely to spike blood sugar, and is full of beneficial bacteria from the fermentation process.
Another great thing about sourdough is there is no need for commercial yeast! You can make sourdough with simple ingredients: flour, water, and salt. Who needs yeast anyways? You can make all kinds of different breads and many other things using a sourdough starter!
This post contains affiliate links, which means I earn a commission when you make a purchase, at no extra cost to you. Read my full affiliate link disclosure here.

The Art of Making Sourdough
Making sourdough can be an intimidating process, but I promise you it’s pretty simple! While it does take some time, it’s pretty forgiving, and you can let it be while you do other things, you could even run to the store if you wanted to!
All you need for making the best sourdough is flour, water, salt, and sourdough starter. There are many different variations of sourdough starter, including different types of wheat flours, but with this recipe I have successfully used an unbleached flour starter. I’m sure it would work just fine with any type of wheat flour!
Tools needed for making sourdough:
- Mixing bowl
- Dough whisk
- Banneton baskets (or these baskets work great as well)
- Parchment paper or silicone sourdough slings
- Kitchen scale
- Tea towels
- Dutch Oven
- Spray bottle of water
- Sharp knife or bread lame

Sourdough Timeline:
8am:
Feed sourdough starter. Wait until it is active and bubbly to begin baking. This could be anywhere from 2-8 hours. (Feel free to do this on your own timeline. This timeline is just an example. Sometimes I start my dough in the evening and let it bulk ferment overnight.)
11Am:
If your starter is active and ready by now, (it should be if your house is around 70 degrees Fahrenheit.) you can start mixing the dough! Mix all of the ingredients in a bowl until well combined. Cover with a tea towel and allow to sit on the counter for 2 hours.
1pm:
Return to your sourdough and do 2 sets of coil folds. Let it set for 30 minutes. With each set of coil folds, it will start to resemble a ball of dough.
1:3opm:
Repeat the previous step 2 more times. Once that is done, let it set on the counter to bulk ferment. This can take 6-12 hours depending on the temperature of your house.

How to tell the bulk ferment is done:
When the dough loses it’s shiny sheen, has doubled in size, isn’t very sticky to the touch, and has large bubbles throughout, the bulk ferment is done.
8:30pm:
It’s time to shape the dough! Once the dough has been shaped, line your baskets with tea towels, and lightly dust them with flour. Put the shaped dough into the basket, and make sure the bottom seam is stitched together well. Leave in the fridge overnight, or 12-15 hours. (If it’s still not done bulk fermenting and you don’t want to wait up, just throw the whole bowl in the fridge. This will slow down the fermentation process, and you can take it out in the morning to let it continue bulk fermentation.)
8:30am:
Once the dough has finished the cold ferment, you can preheat your oven to 450 Fahrenheit. While you are waiting for the oven to preheat, flip the dough seam-side down onto one of the dough slings, or a sheet of parchment paper. Use a really sharp knife, or a bread lame to score the dough. (Do so by holding the knife or lame at a 45 degree angle and slicing all the way across the bread. You can get fancy with your designs if you’d like, but it’s not necessary.)
8:45am:
Lift the loaf into the preheated Dutch oven, and spray the top a few times with the spray bottle of water. Cover with the lid and set a timer for 30 minutes.

9:15am:
Remove the lid of the Dutch oven, and set the timer for 15 minutes.
9:30am:
Remove the bread from the oven, and lift it out on to a cutting board to cool. Do not cut into the bread until it has fully cooled, or it will be gummy inside.
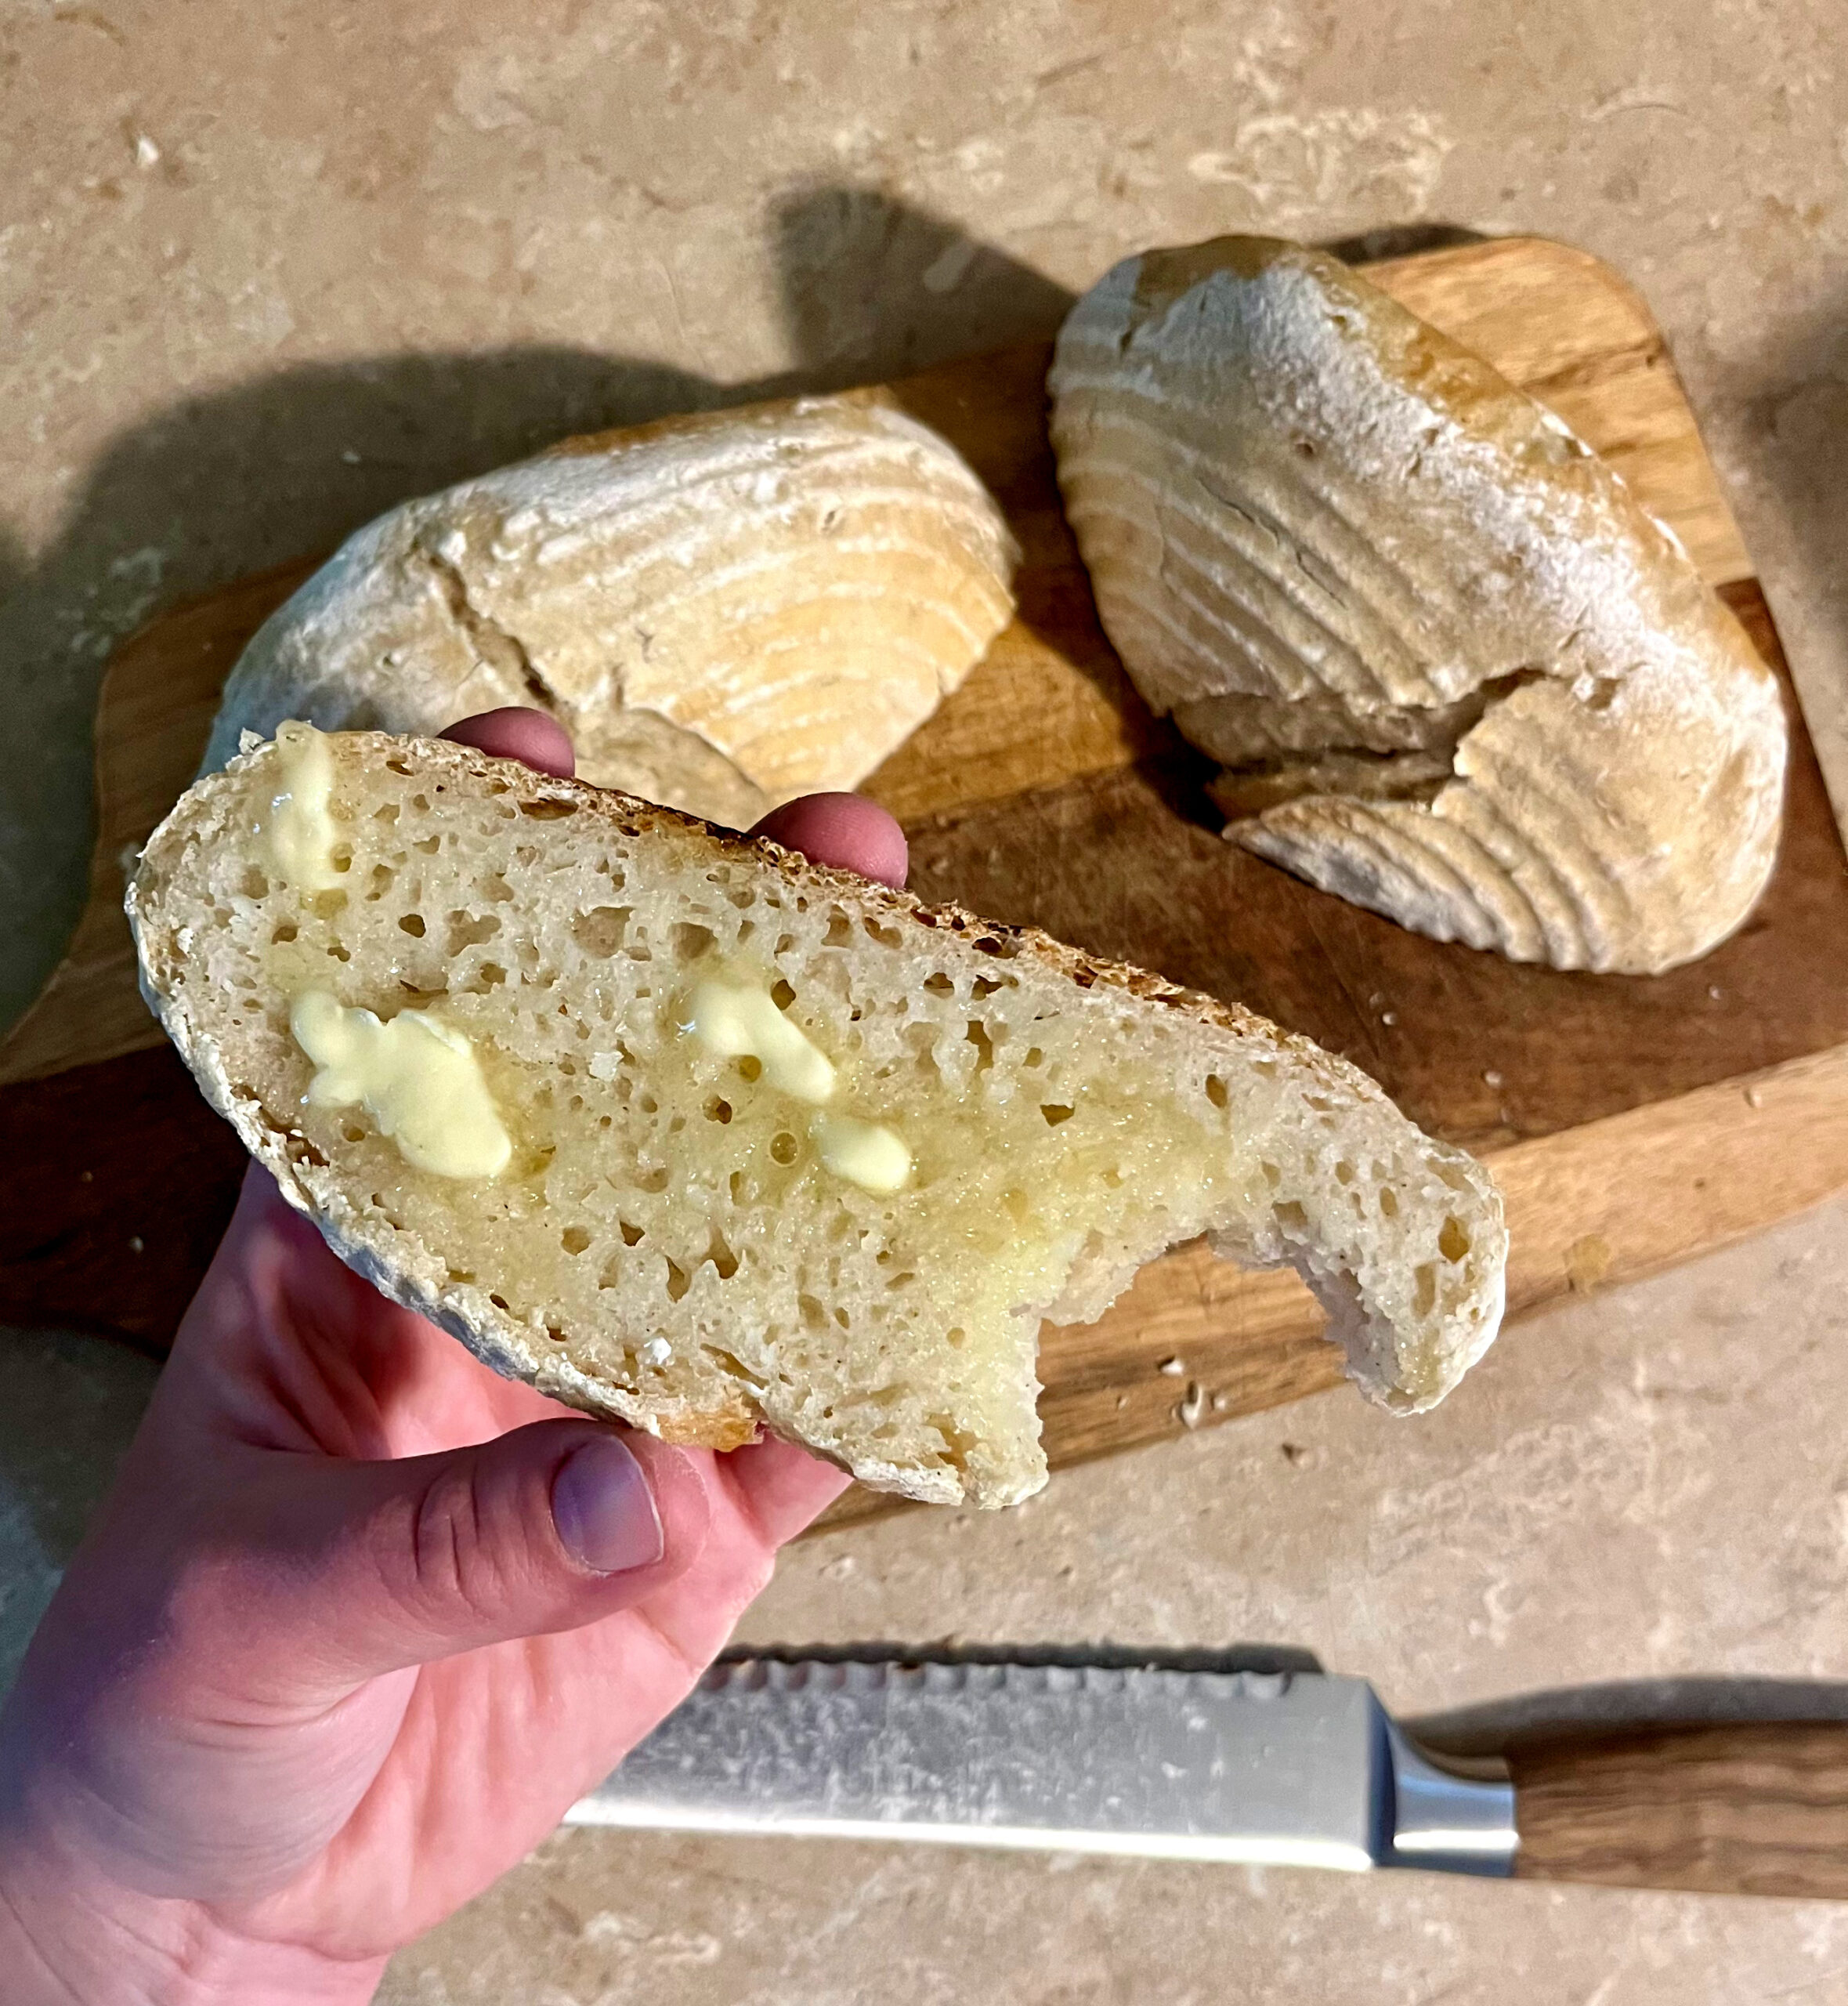
Once your bread has fully cooled, it is ready to enjoy! I slice mine and put it into these reusable bread bags for later. I invested in this bread slicer and it makes perfect slices. Sourdough can be hard to slice evenly because of the thick crust, so this slicer has been a game changer! 100% worth the investment.
Sourdough Bread
Equipment
- 1 Mixing Bowl
- 1 Dough whisk
- 1 Kitchen Scale
- 1 Silicone bread sling
- 1 Dutch Oven
- 1 Tea Towel
- 1 Banneton basket
- 1 Sharp knife or bread lame
- 1 Spray bottle of water
Ingredients
- 500 g All-purpose flour
- 368 g Lukewarm water
- 125 g Sourdough starter
- 12 g Salt
Instructions
- Feed sourdough starter the night before you plan on making the bread, or at least 6 hours ahead of time.
- Once the starter is active and bubbly, measure the ingredients using your kitchen scale, and mix everything together very well using the dough whisk.
- Cover and let sit on the counter for two hours.
- Return to the dough and perform 2 coil folds, and then let sit for 30 minutes.
- Repeat the previous step 2 more times.
- Cover and let bulk ferment on the counter for 8-12 hours. The bulk fermentation is done when the dough is not very sticky, has large bubbles, and has doubled in size.
- Now it's time to shape the dough and put it into the banneton basket. Lay the tea towel in the basket and sprinkle lightly with flour. Place the dough seam side up in the basket, and cover with the rest of the tea towel.
- Place the dough in the fridge for 12-16 hours. Do the "poke test" to determine if the cold ferment is over. If you poke the dough, and it bounces back, it is not ready. If you poke the dough and it doesn't bounce back at all, it's overproofed. If you poke the dough and it slowly comes back, it's ready!
- Preheat the oven to 450 degrees Fahrenheit.
- While you are waiting for the oven to preheat, turn the dough out onto parchment paper or the dough sling.
- Using a sharp knife or bread lame, score the dough all the way across.
- Lift the loaf into the hot Dutch oven, and spray the top of the loaf with some water.
- Cover with the lid and set a timer for 30 minutes.
- After 30 minutes have passed, remove the lid of the Dutch oven, and set a timer for 15 minutes.
- After 15 minutes, remove the bread from the oven, and take out of the Dutch oven to cool.
- Don't slice into the bread until it has fully cooled, or it will become gummy.
- Once it has fully cooled, you can enjoy!
Notes
11am: Mix ingredients together and cover to sit on the counter for 2 hours.
1pm: Do two sets of coil folds.
1:30pm: Return in 30 minutes and do two more sets of coil folds. Repeat this process two times.
2:30pm: Cover the dough for bulk fermentation. This can take 6-12 hours.
8:30pm: Shape the dough and start cold ferment.
8am: Preheat oven with Dutch oven inside. Prepare dough for baking while waiting for the oven to preheat.
8:30am: Place bread in the oven and set timer.
9:15am: Remove bread from oven and let cool completely. *This is just an example timeline, your timeline may look a little different based on the conditions of your kitchen. The temperature of your kitchen will affect the bulk fermenting time, along with other factors.
FAQ About Baking Sourdough Bread
Do I have to use an active starter?
While you can get away with using an unfed starter, I suggest using one that is active and bubbly to make sure you get the best oven spring!
Can I double this recipe?
Yes, if you want to make two loaves, you can double the recipe!
Why is my loaf flat?
It could be under-proofed OR over-proofed. If it’s under-proofed, it will be flat and won’t have any large air bubbles. If over-proofed, it will likely have large air bubbles on the top, but the bottom part will be flat.
Do I have to have a Dutch oven for making sourdough?
You can open-bake sourdough, but you will need to make sure you still spray the sourdough with water when you put it in the oven.