How to Start Your Own Vermicomposting System
Start your own vermicomposting system, and reap the benefits of the black gold worm castings! There is no better source of compost than these worm castings. It is super easy to start and you can get started at a pretty low cost!
If you want to learn how to start your own vermicomposting system, you’ve come to the right place! But first, let’s talk about what it is and how great the benefits are!
I had been wanting to start my own vermicomposting system for quite a while, but just never got around to it. Which is silly, because it’s so easy and cheap to get started! All you need is an old tote with a lid, and a few other things! My father-in-law has been vermicomposting for a few years, and one day he gave me a ziplock bag full of red wiggler worms so I could start my own! I brought the worms home, and let them sit in the bag on my counter overnight, and started on the project the next morning!
This article contains affiliate links, meaning I make a small percentage off of your purchase at no extra cost to you. Read my full affiliate link disclosure here.
Why Are We So Excited About Worm Poop?
Vermicomposting is better than regular composting. Here’s why: it contains a higher potassium, nitrogen, and phosphorus content. Vermicomposting improves the soil structure, and water holding capacity as well. It’s also a faster way of breaking down the compost! So what does all of this mean? This method of composting helps with germination, higher crop yields, and plant growth. Vermicomposting has been shown to be richer in nutrients than any other method of composting!
The best part of having your own vermicomposting system is, the worms do all of the hard work! Once you get everything set up, all you have to do is check on them periodically and feed them! I have my vermicompost bin on my porch, out of the way, but it can be kept anywhere, as long as the temp doesn’t get below freezing, or above 95 degrees Fahrenheit. The worms thrive between 55-77 degrees Fahrenheit. You can get an aquarium thermometer to monitor the temperature in your vermicompost bin.
Everything You Need to Know About Red Wigglers
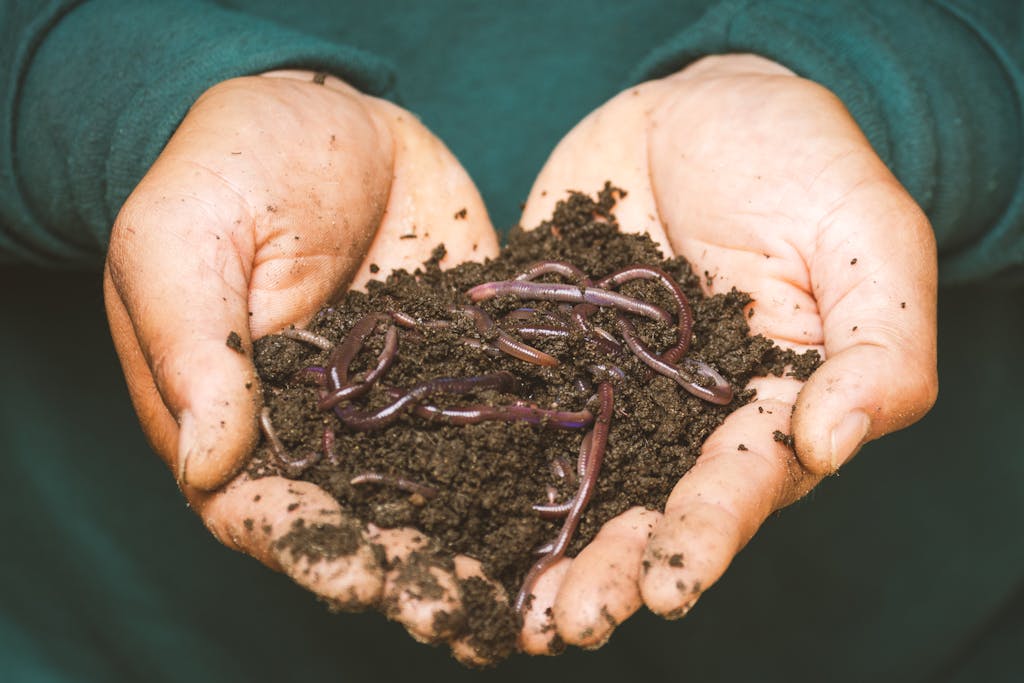
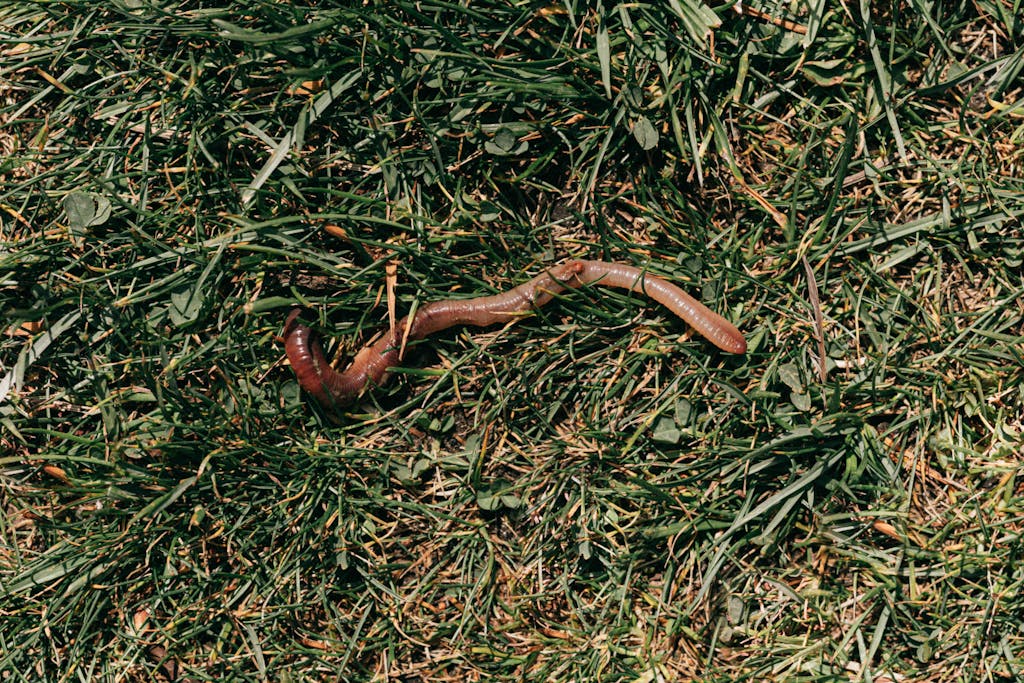
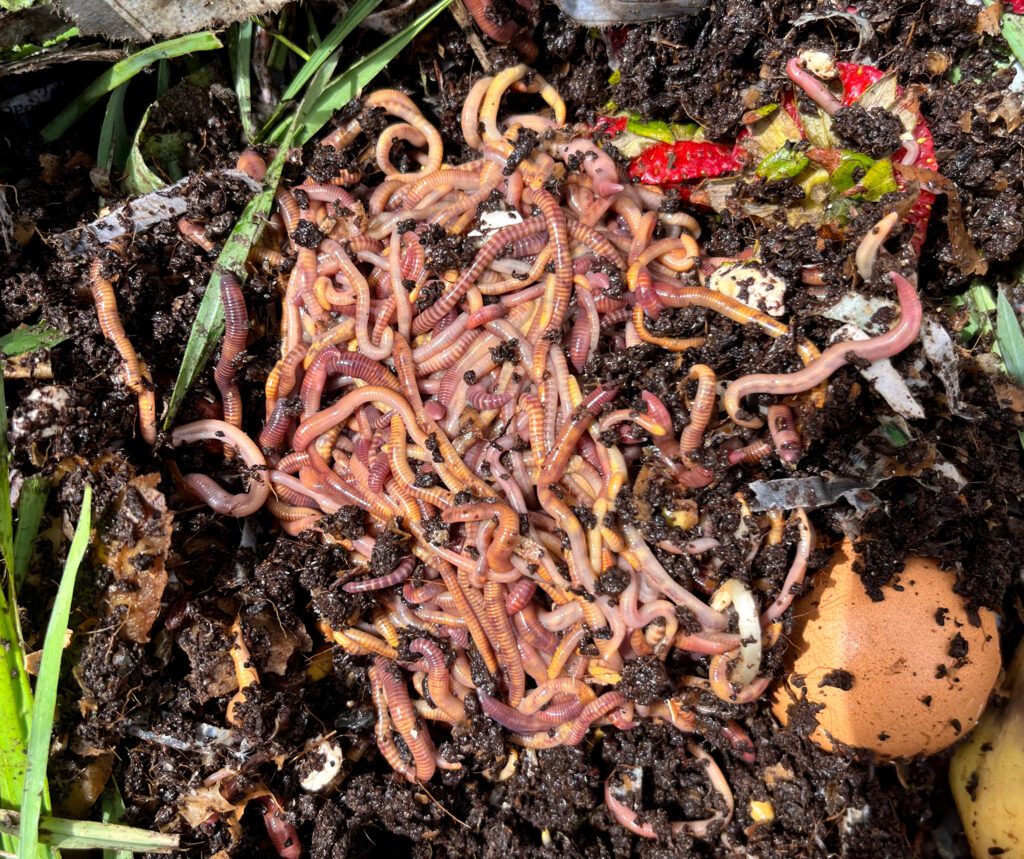
Red wigglers are a species of worm, known for rapidly ingesting organic materials and turning them into great compost! They are not to be confused with nightcrawlers, which eat soil. Red wigglers will eat your kitchen scraps and turn them into beautiful soil for your garden.
Red wigglers are hermaphrodites, which means they have both male and female reproductive organs. During mating, two worms will intertwine and produce a cocoon, which will contain around 20 baby worms. These cocoons are about 1/8 of an inch long, and shaped like a lemon. Adult worms can produce 2-3 cocoons each week, and after hatching, it takes 42 days for the worms to reach sexual maturity.
Red wigglers live between 1-3 years, but in optimal conditions they can live up to 5 years! With each worm capable of 2-3 cocoons each week, they can multiply pretty quickly. You can keep them in one bin and they will adjust their reproduction to the size of space they have. If you only want to have one bin of worms, they will stay perfectly content in that. But if you want to add another, you can split your worms up and they will start to fill another bin!
What Should You Feed Your Worms?
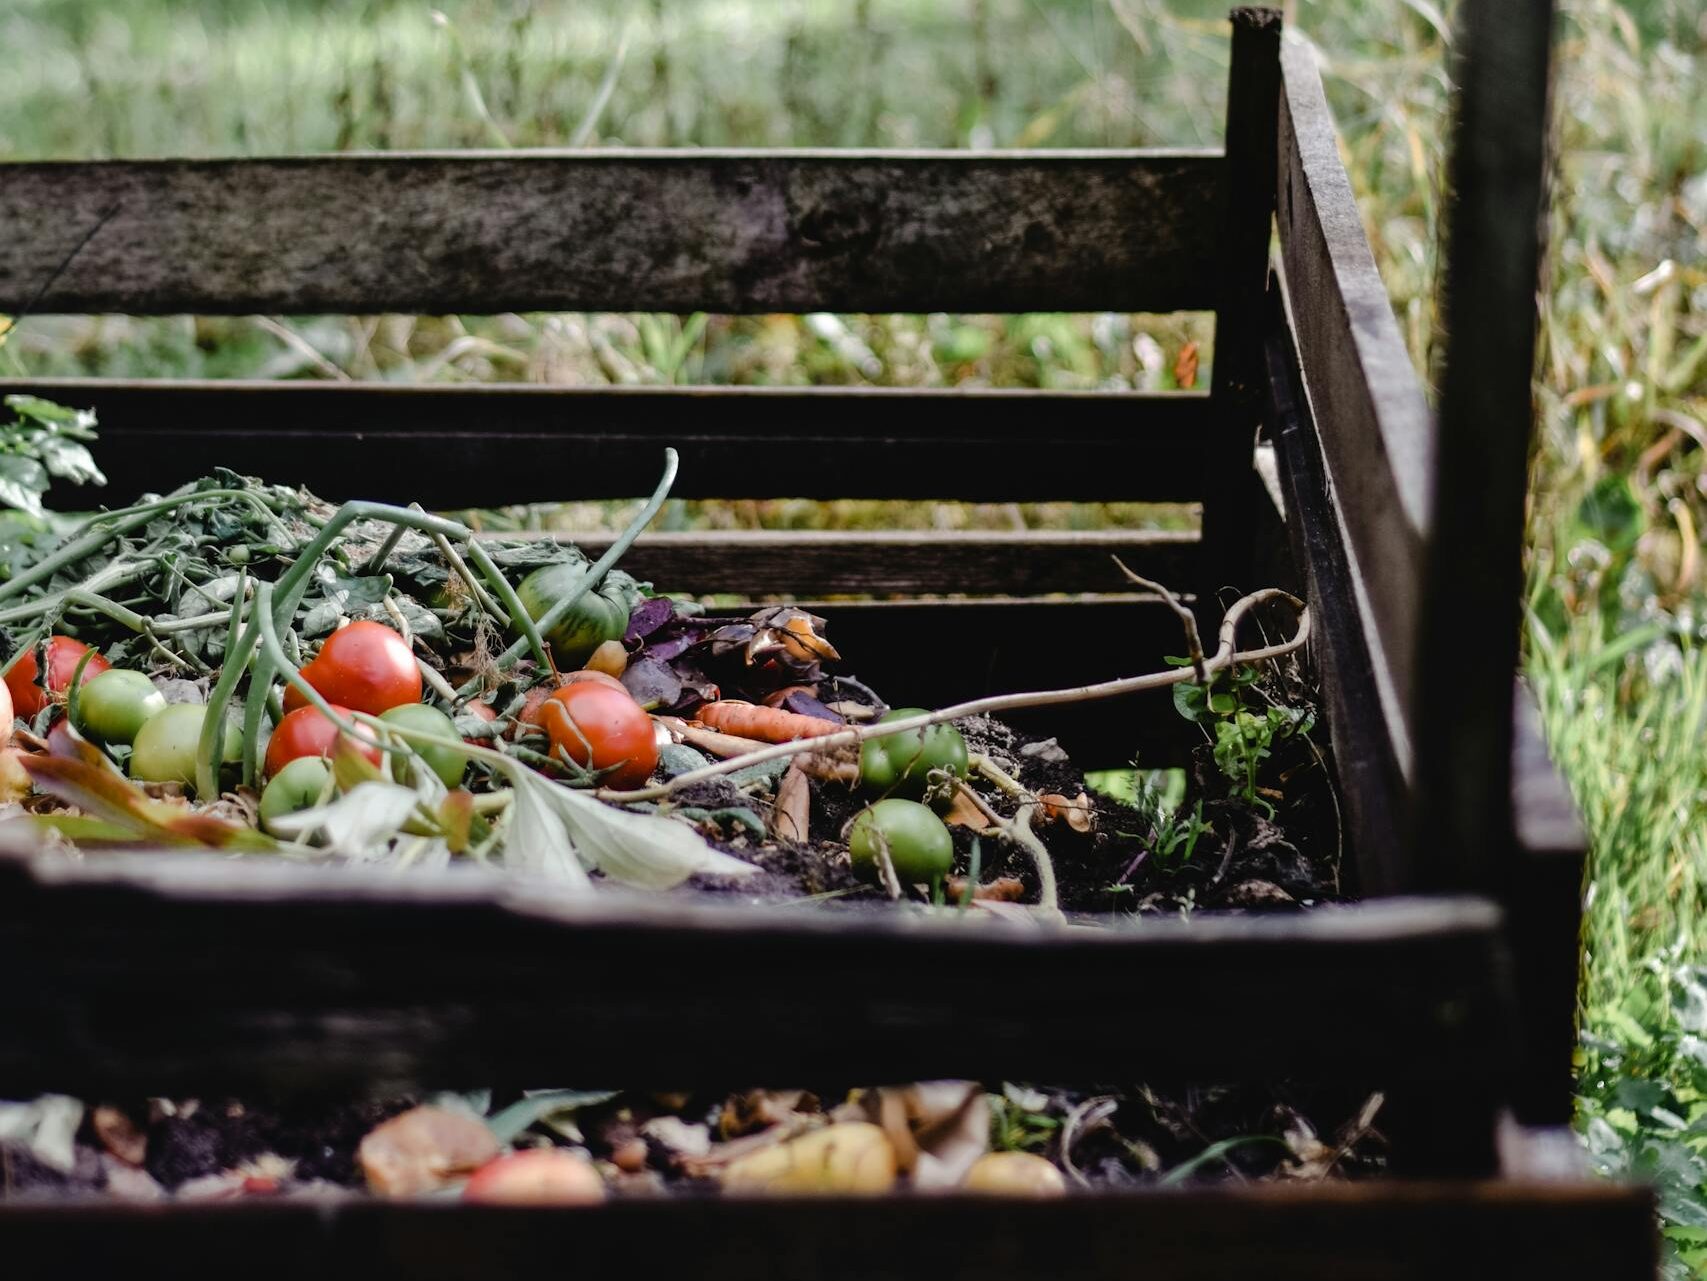
There are a lot of food scraps you can feed your worms, but there are also some things you shouldn’t feed them! If you want your worms to thrive, make sure you are feeding them the foods they love! The worms should be fed about once a week. Check on them periodically to see how much food they are going through. I have a small compost bin on my counter, and when it’s full I disperse it between my worms and my other compost pile for the things I can’t feed to the worms or the chickens.
What to feed your worms
- Fruit scraps (excluding citrus)
- Veggie scraps
- Eggshells
- Cooked Beans
What not to feed your worms
- Citrus
- Onions/Garlic
- Meats
- Spicy Foods (peppers, etc.)
- Tomatoes or any other acidic foods
- Oily foods
- Dairy, cheese, or other dairy products
How to Start Your Own Vermicompost System
This is quick and easy to put together, and all you need are a few things!
Tools you will need for this job:
- Drill for drilling holes in the sides of the bin
- Tub or bucket to soak coco coir in.
- Paper shredder or scissors for shredding newspaper
Materials you will need:
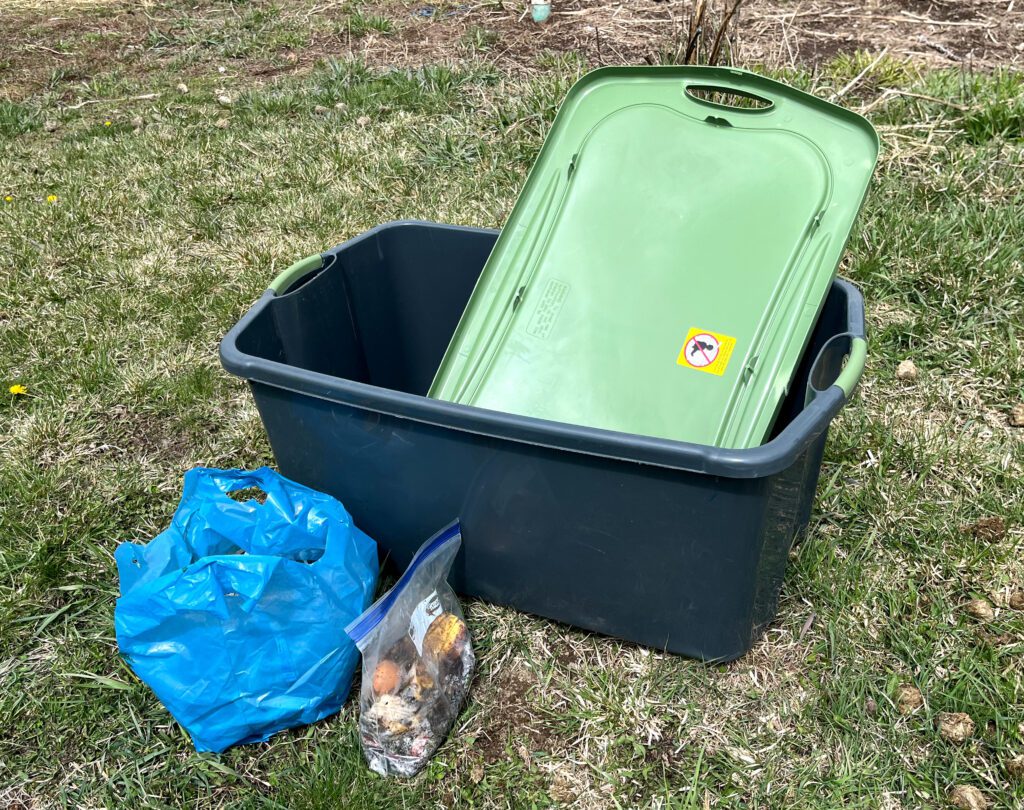
- Get yourself an old tote with a lid, or if you want to be fancy, you can get one of these vermicompost bins for your worms.
- Shredded newspaper or paper
- Coco coir or grass clippings (coco coir is highly recommended. It provides air pockets and support without too much compression. I used grass clippings to start, but later ended up adding coco coir to my worm habitat.)
- Red Wigglers (these ones are from a reputable source)
- Compost scraps
- Whole newspapers

Step by Step Instructions for Creating Your Worm Habitat:
Step 1:
The day before you plan on putting your worms in their habitat, soak your coco coir for at least 24 hours, and then squeeze the excess moisture out to create the perfect bedding for your worms. If you are using another form of bedding, you can skip this step.
Step 2:
Take your storage tote, and drill holes around the top. Make sure they are not on the top of the lid, because you don’t want water to leak in. Putting them around the sides is sufficient. I used a 1/4″ drill bit, but smaller would be okay too.
Step 3:
Now that you have air holes drilled into your storage bin, you can fill it with your worm bedding. Mix the coco coir (or grass clippings) with shredded newspaper. Add some water (if needed) to dampen the newspaper shreds. You don’t want it to be sopping wet, just damp.
Step 4:
Once your worm bedding is well mixed together, make a well in the middle of the bin for your worms and their food. Put the worm food in the well, followed by the worms, and then cover them with the bedding. Dampen the whole newspapers and layer them over top of the bin, and then close the lid.
Step 5:
Check on your worms after a few hours to make sure they have accepted their new home. Sometimes they will try to escape, and you will have to resituate them. Now, all you have to do is feed them weekly.
Start Your Own Vermicompost System
Equipment
- 1 Drill for drilling air holes
- 1 Pair of Scissors for shredding newspaper
- 1 Bucket for soaking coco coir
Materials
- 5 lbs red wigglers
- 2 bricks coco coir (or a 5 gallon bucket of grass clippings)
- 4 shredded newspapers
- 1 bucket water (for soaking coco coir and adding moisture to worms)
- 1 tote with a lid
- 1 kitchen scraps (for feeding worms)
Instructions
- Soak the coco coir in water for 24 hours. Once it has finished soaking, squeeze the excess water out.
- Prepare your tote by drilling holes around the top so air can get in.
- Put your coco coir (or grass clippings), and shredded newspaper in the tote, and mix everything up.
- Once everything is mixed well, you can add a little water to make everything moist. You don't want it to be sopping wet, just damp.
- Now the bedding is ready for worms. Dig a well in the middle of the bedding, and place some kitchen scraps, and then your worms, and then cover with bedding.
- Close the lid, and leave them be! Check on them in several hours to make sure they have accepted their habitat. If they aren't trying to escape around the handles, then that means they are happy!
Notes
FAQ About Starting Your Own Vermicomposting System
What do you do if the worms try to escape the bin?
Sometimes when the worms are moved into a new home, they may try to flee. If this happens, just make sure the environment is ideal. If they still try to flee, you could have too much moisture, it could be too compact, too much rotten food, or food they don’t like, or the temperature is too hot or cold.
How fast do worms multiply?
The worms can double their population every 3-4 months if the conditions are ideal.
How do I know when to harvest worm castings?
Every 6 months or so you can harvest worm castings. When there is little food and bedding left, that’s how you know they are ready to harvest.

