Easy Homemade Soft Sandwich Bread
Simple soft sandwich bread your family will love! Just a few ingredients and some time is all you need to make delicious bread for your family!
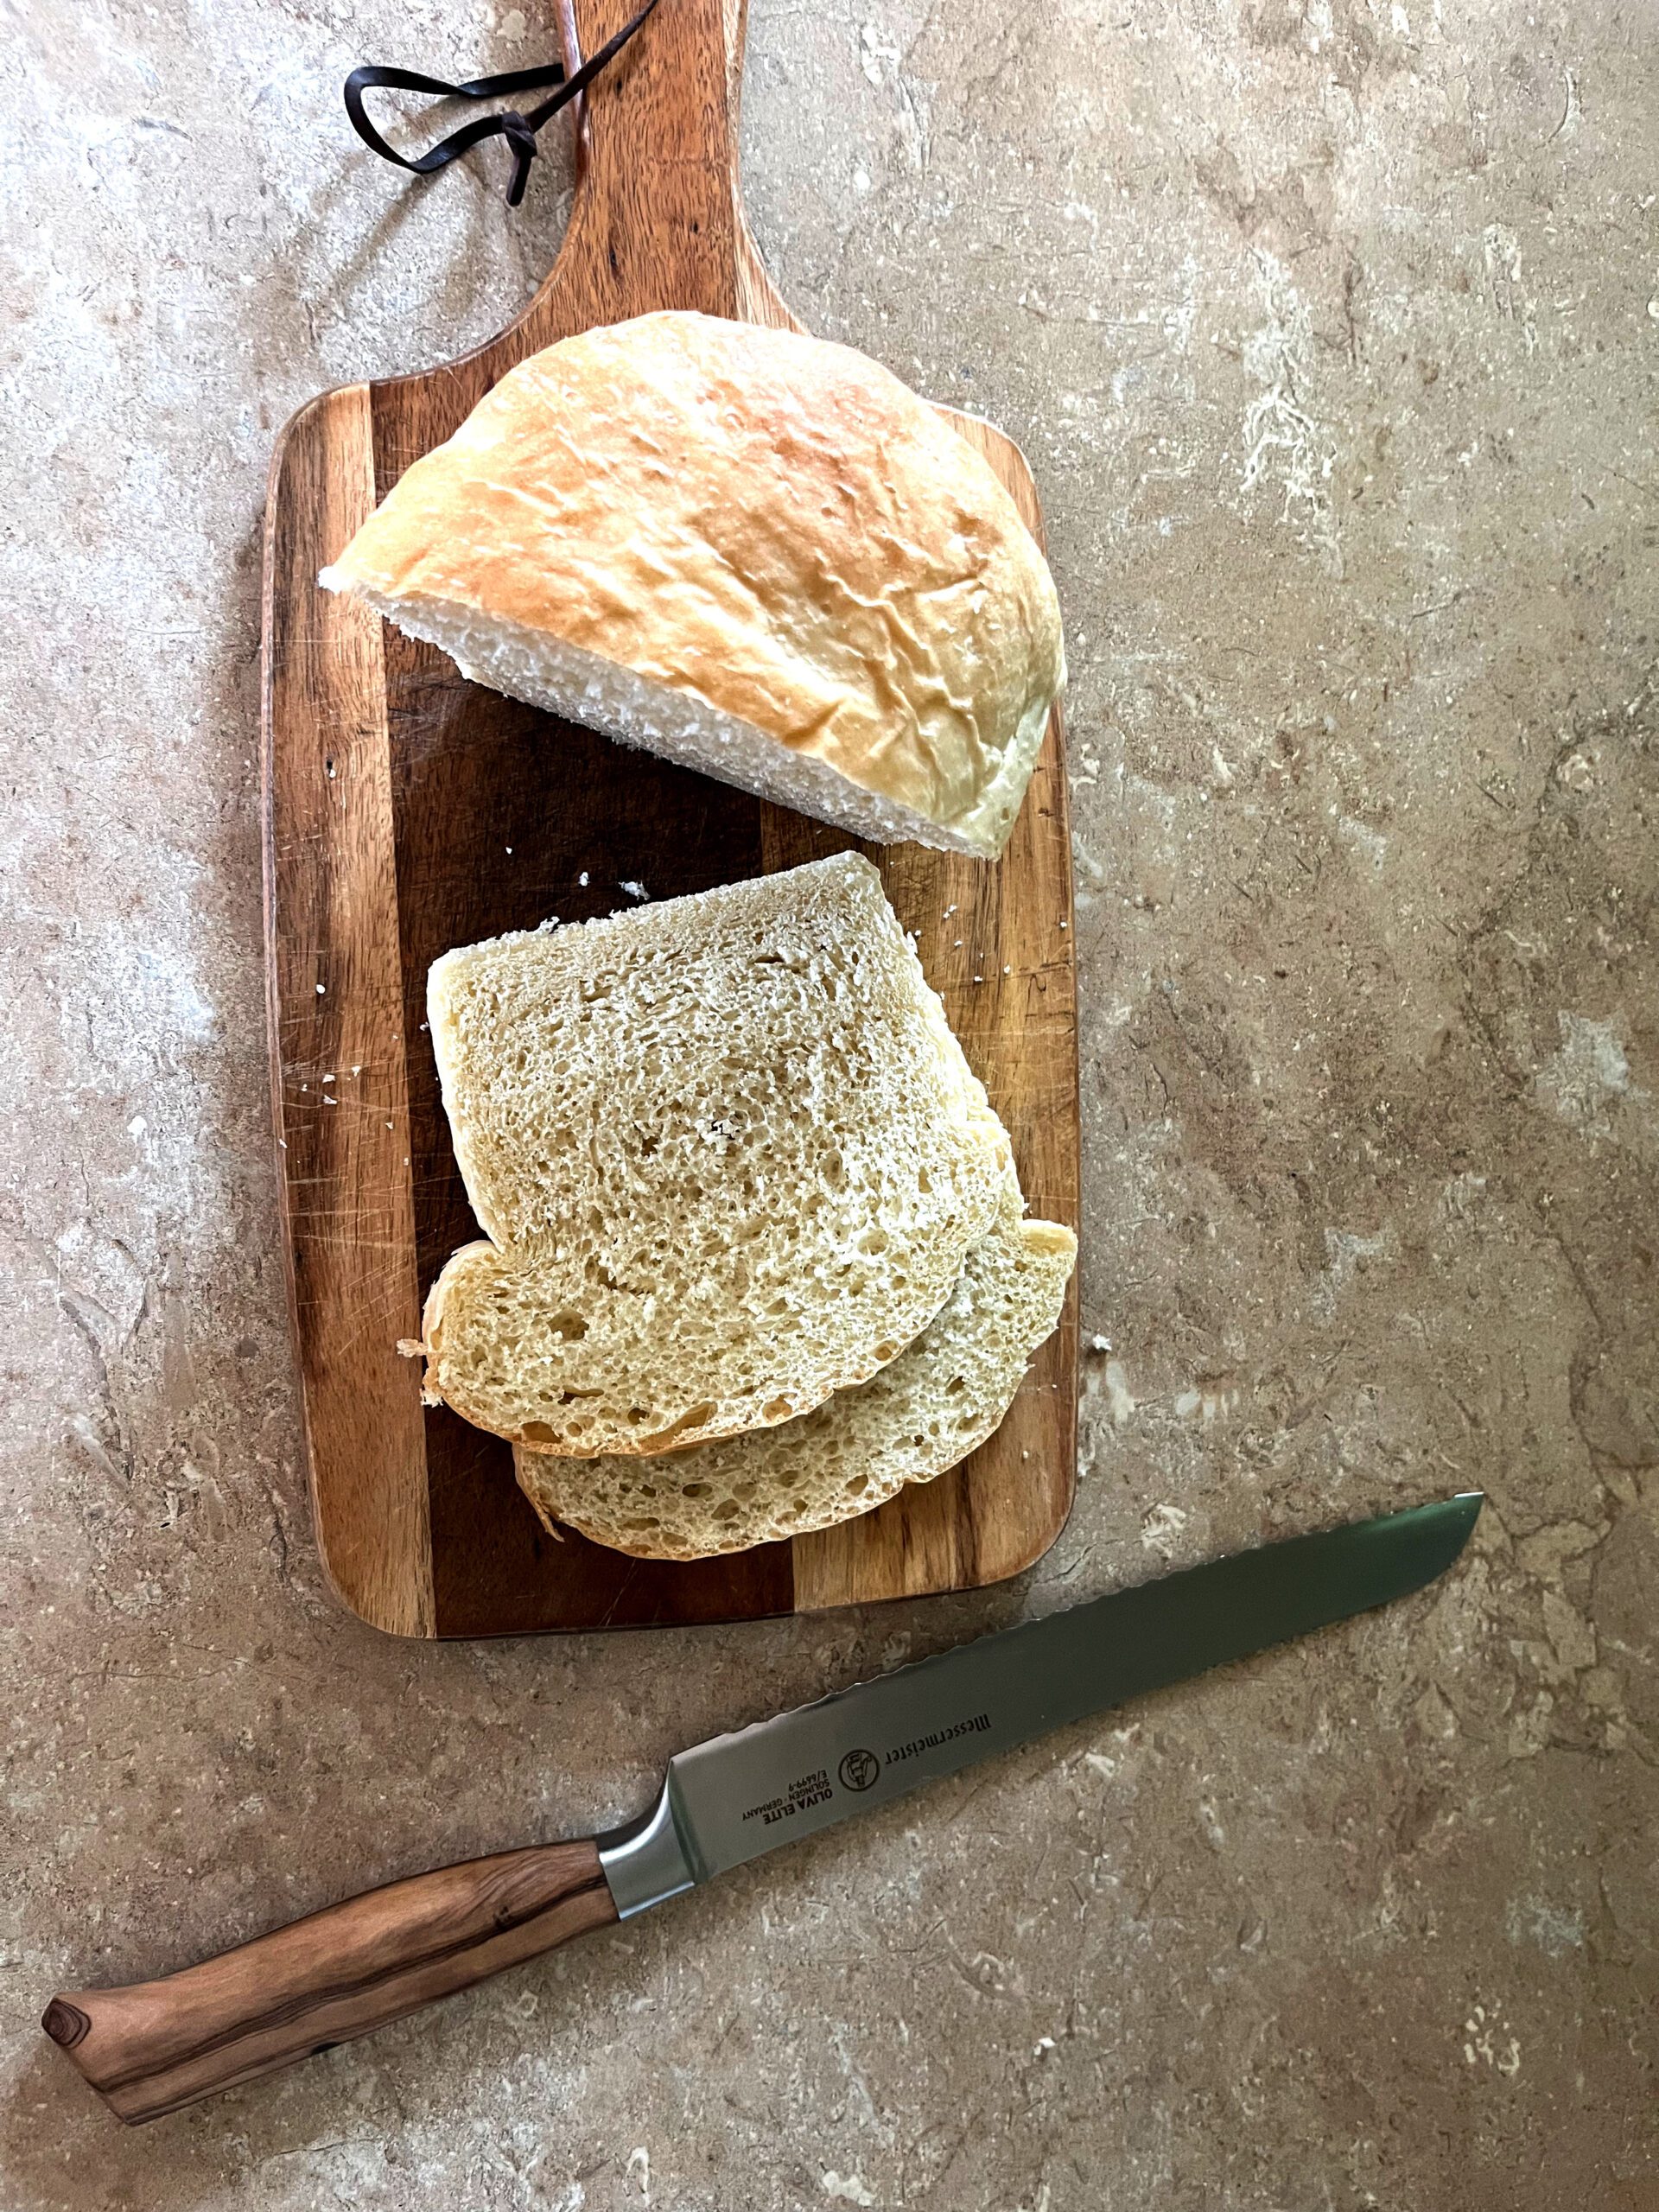
Easy Soft Sandwich Bread
The possibilities are endless with homemade easy soft sandwich bread! Slather on some peanut butter and jelly, or make a ham and cheese sandwich! The possibilities are endless, and this soft sandwich bread makes any sandwich delicious!
I started making bread for my family because I couldn’t stand the long list of ingredients on store-bought bread! With only 6 ingredients, this is such an easy bread recipe! This is the best soft, fluffy, white bread, and it’s even approved by my picky husband!
Why You’ll Love This Recipe:
Easy Recipe: This recipe takes very little hands-on time, especially if you use your stand mixer! This is a one-bowl recipe, which means less dishes to clean up afterwards!
Quick: All bread takes some time to rise, but once you whip this up in your mixer, you can just forget about it for an hour or so while you let it double in size! After that, you just shape and form into loaves, and let rise for another 30 minutes or so, just until the loaves have doubled in size!
Great Versatile Bread Recipe: This soft bread can be used for sandwiches, toast, grilled sandwiches, French toast, and so much more! It even freezes well, so if your family doesn’t go through two loaves of bread quick enough, throw the second one in the freezer until you are ready for more bread!
This article contains affiliate links, meaning I make a small percentage off of your purchase at no extra cost to you. Read my full affiliate link disclosure here.
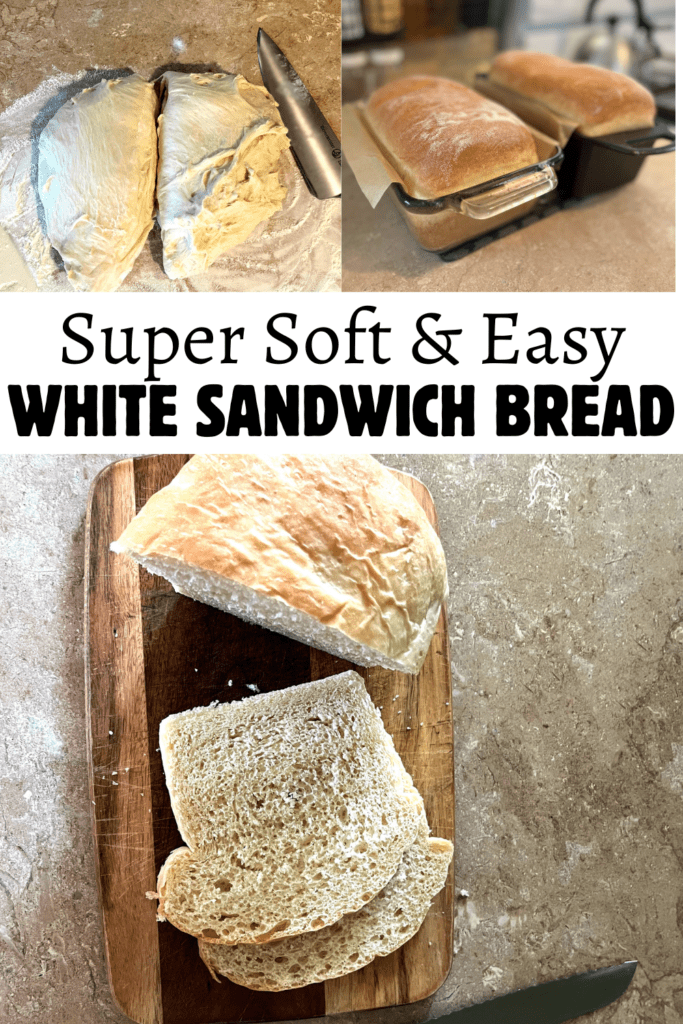
Tips for This Recipe:
- Warm Water: Make sure you use really warm water, but not hot, or it will kill the yeast.
- Melted Butter: Melt your butter, and let it cool for a few minutes, to make sure it’s not too hot for the yeast.
- Proofing: If the temperature of your house is under 70 degrees, you can turn on your oven at a low temperature for just a few minutes and turn it off, so you have a warm place to let the bread rise!
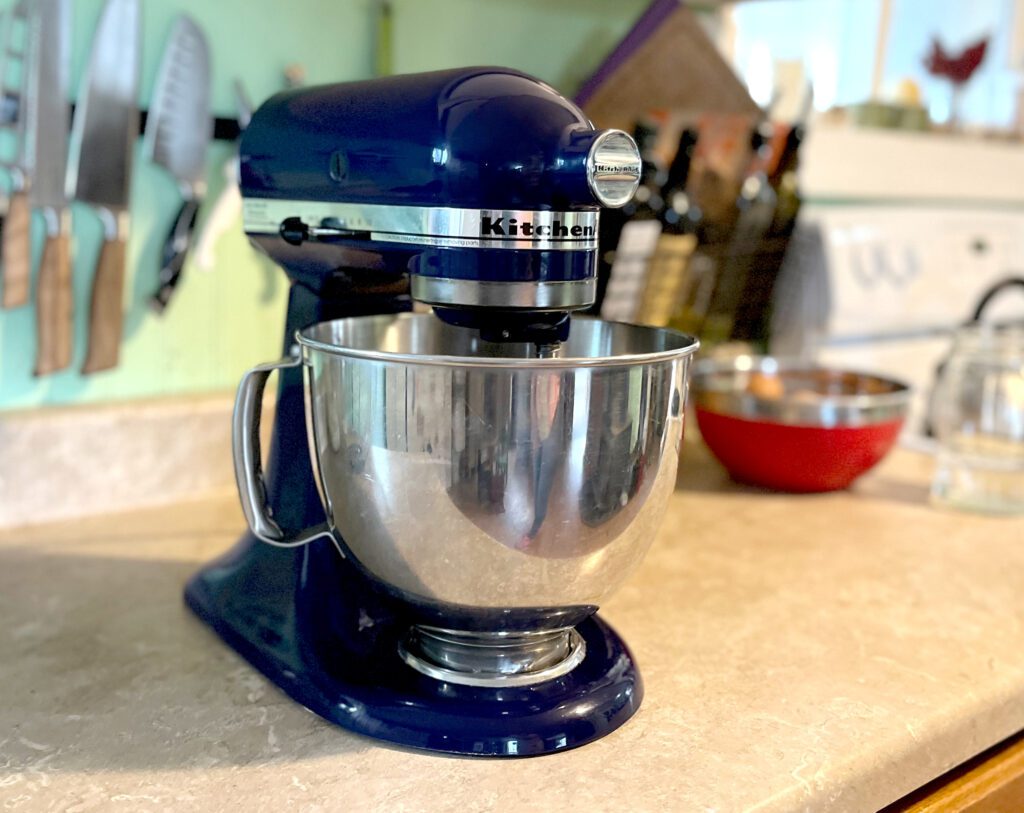
- Mixing: I highly recommend using a stand mixer for this recipe! It is not required, but it makes it so much easier, and makes for less hands on time! This mixer is the one I have had for years and absolutely love!
- Measuring Honey: When measuring honey, or other sticky substances, it helps to spray your measuring cup with oil or non-stick spray! This helps the honey slide right out, instead of mostly sticking to the inside of the cup!
This post contains affiliate links, which means I may earn a commission at no additional cost from you, for products you purchase through these links. See my full disclosure here.
Ingredients:
- Flour: I use organic unbleached all-purpose flour for this recipe!
- Water: Warm water straight out of the tap is just fine!
- Yeast: Dry active yeast is what you will need, instant yeast will produce different results!
- Honey: Honey is the best for this recipe, but if you cannot have honey, you could use corn syrup, or another thick liquid sweetner. You do not taste the flavor of honey at all in this bread.
- Butter: You need to melt your butter.
- Salt: Don’t forget the salt, the bread will be pretty flavorless without it!
Tools You May Need for This Recipe:
- Stand Mixer: A stand mixer is optional, but a regular mixing bowl and wooden spoon will do if you don’t have one!
- Knife or Dough Scraper: This will come in handy when it’s time to divide the dough in half to shape your loaves! A dough scraper is also handy for scraping any flour or dough that sticks to your countertops.
- Measuring Cups & Spoons: Make sure you measure the ingredients properly, that way the recipe turns out the way it is supposed to! This is a great set if you don’t have any!
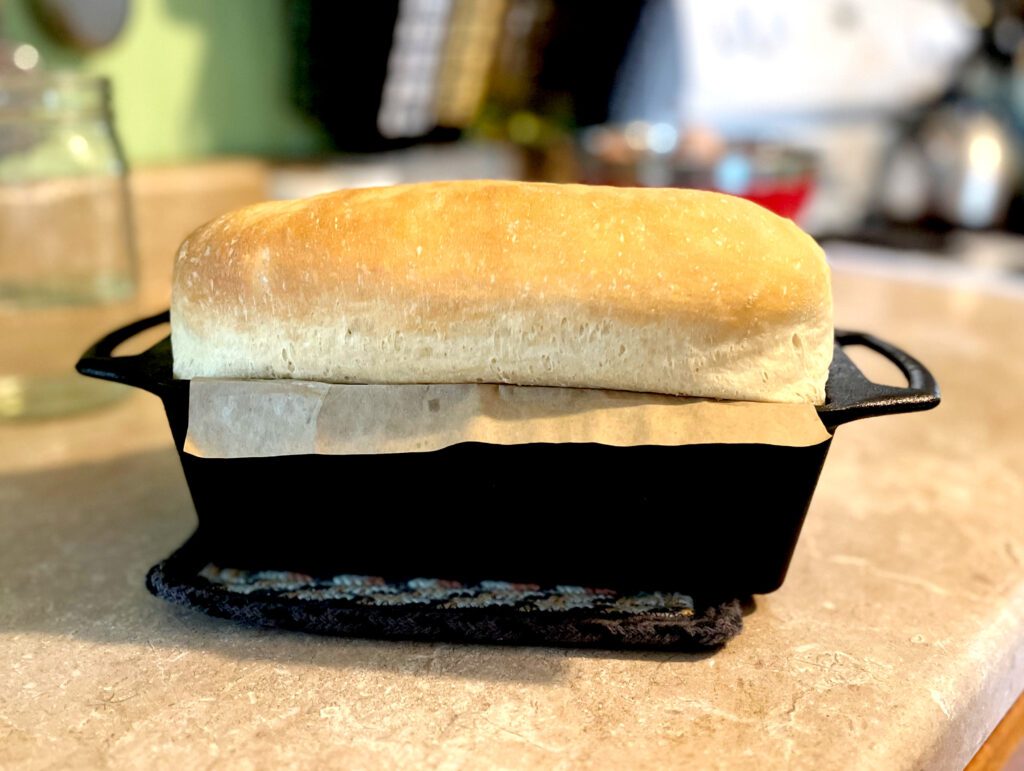
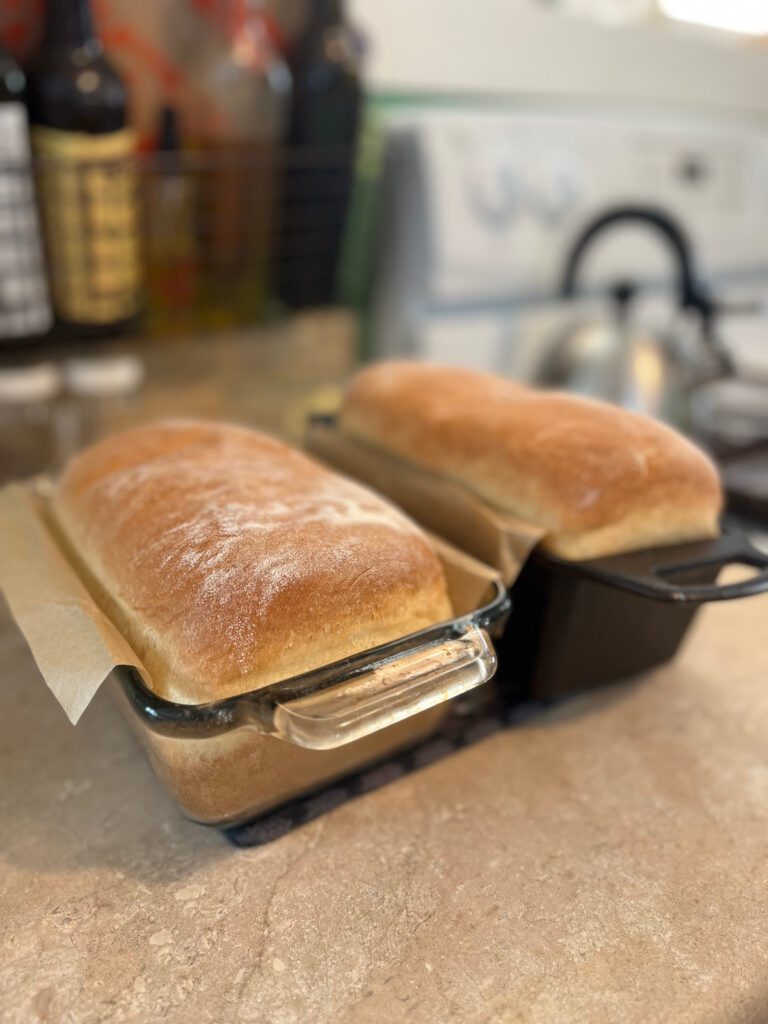
- Loaf Pans: I love using cast iron loaf pans! If that’s not your thing, any standard size loaf pan will do! Glass Pyrex is my second choice!
- Bread Knife & Slicing Guide: When it’s time to slice the bread, you want to make sure and use a bread knife (or long serrated knife) because the bread is very soft. If you want uniform bread slices, one of these bread slicing guides is very helpful!
How to Make Soft Sandwich Bread:
When you are ready to make this easy soft sandwich bread, gather all of your ingredients, and have all of your tools ready. Add your warm water, dry active yeast, and honey to the bowl of your stand mixer, or regular mixing bowl if that’s what you’re using. Using a spoon, gently mix together the ingredients, and then let them sit for about 10 minutes or so, until the water looks bubbly.
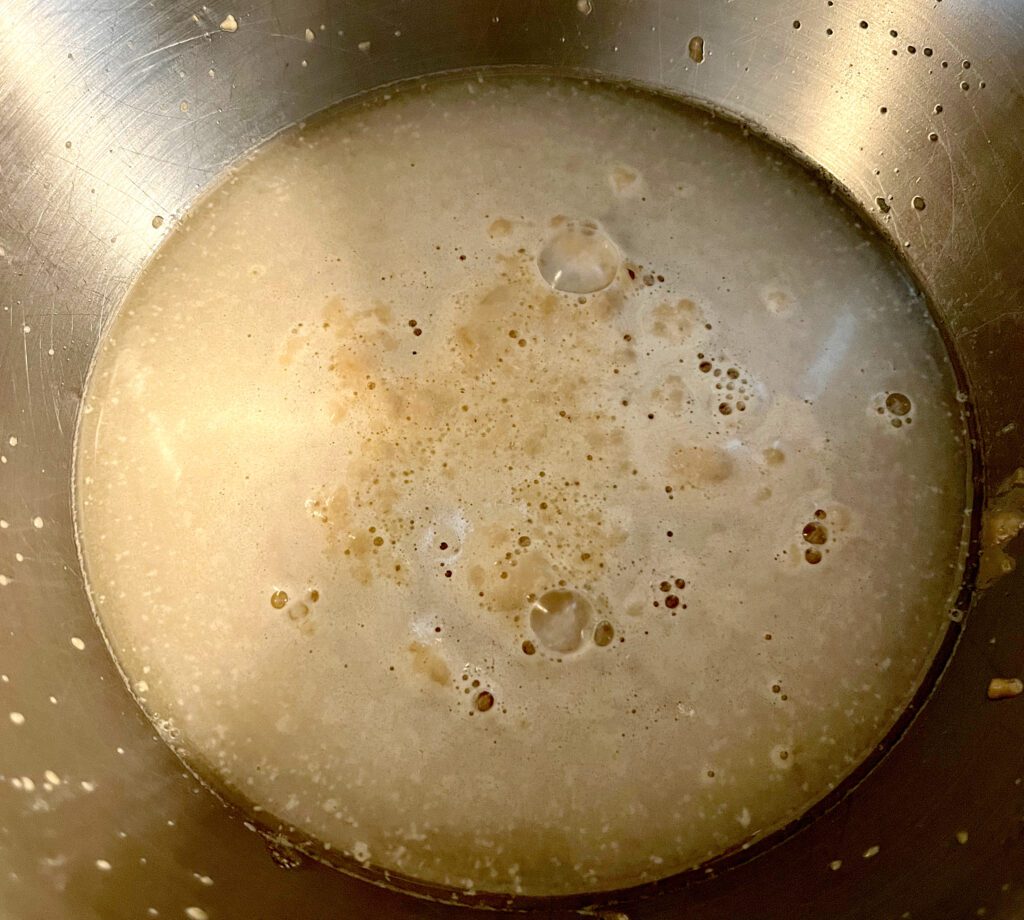
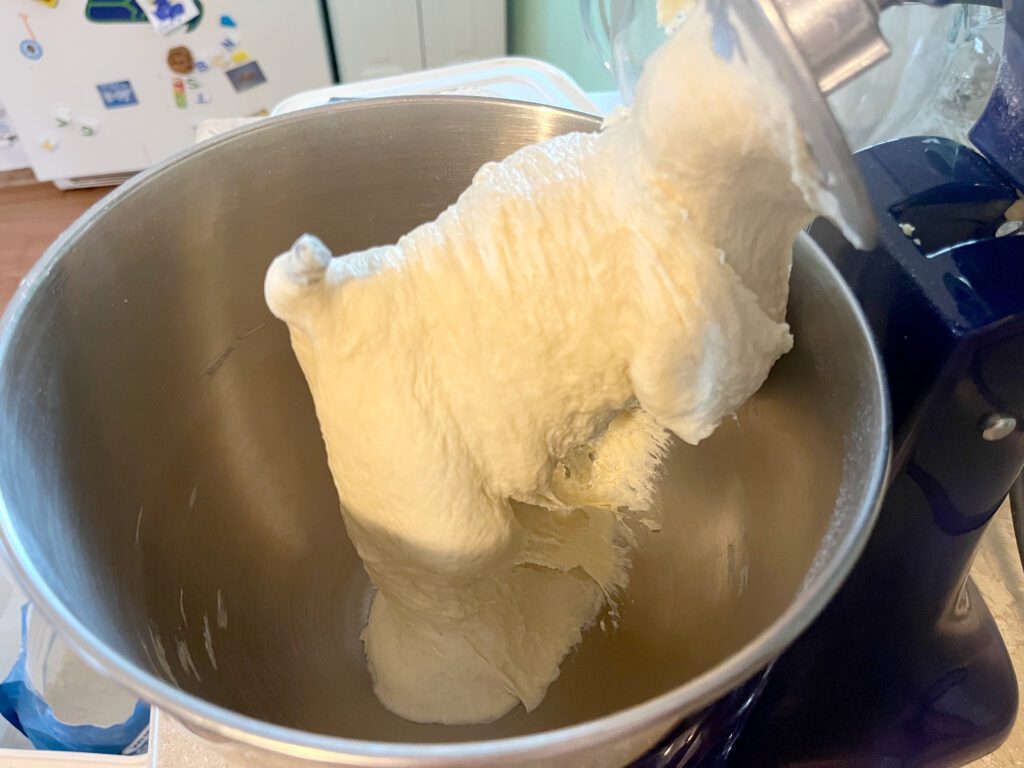
Once the yeast has been activated, you can now add the melted butter, salt, and 4 1/2 cups of flour. We will be saving the other 1/2 cup of flour for later. Mix on low to medium speed if using a stand mixer. If you are mixing by hand, mix until everything is really well combined, and the dough starts looking sticky.
Let it Rise
Add in the remaining 1/2 cup of flour, and continue to mix on low – medium speed until it is very well combined. (If you are mixing by hand, you can put the remaining 1/2 cup of flour on the counter, and turn out your dough onto the flour. Knead the flour into the dough by hand, until it comes together into a nice dough ball.) Once the dough is mixed very well, take it off of the dough hook and form it into a ball in the bowl. It will be slightly sticky, but that’s okay! That’s what helps make it so soft! Cover it with a dish towel and place it in a warm place to rise for about an hour, or until it has doubled in size!
While you are waiting for the dough to rise, you can prepare your loaf pans. I like to use parchment paper to line the loaf pans with to make the bread easy to remove! If you don’t have parchment paper, you can just grease the loaf pans or use a non-stick spray.
Time For Baking
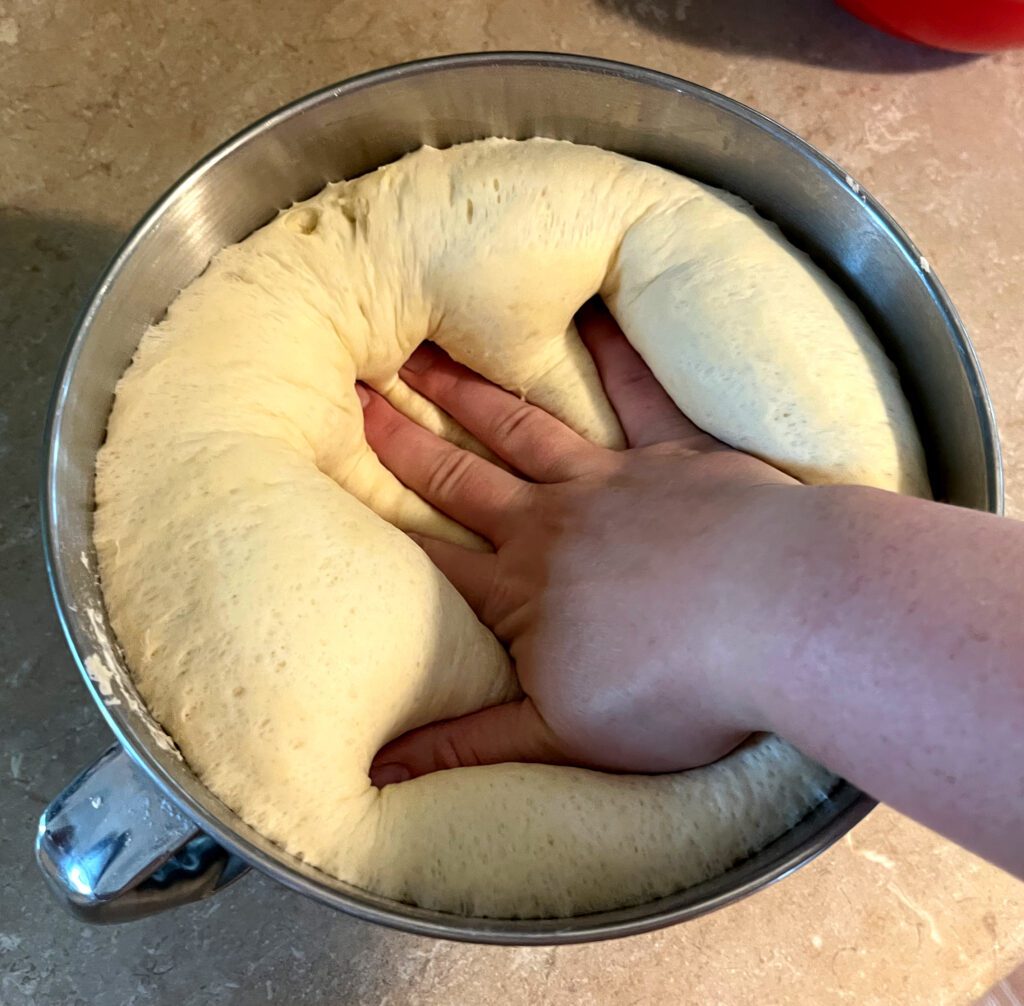
Once the dough has doubled in size, punch it down with your hand, and then turn it out onto a floured surface. This is where you are going to divide the dough in half, and shape your loaves! Using your dough scraper or knife, cut the dough into two equal parts. Set one half aside, while you shape the first one.
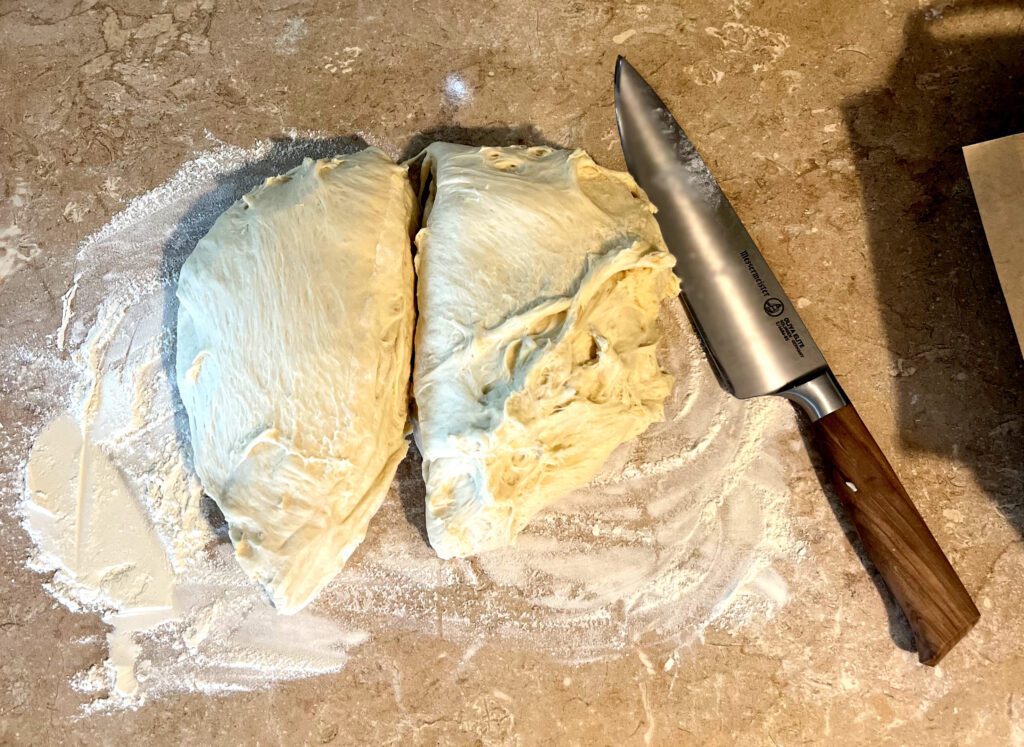
Flatten the dough into a rectangle, about as long as the loaf pan. You want the dough to be about 1-1/2″ thick. Once you get it flattened, roll the dough into a “log” and pinch all of the ends together.
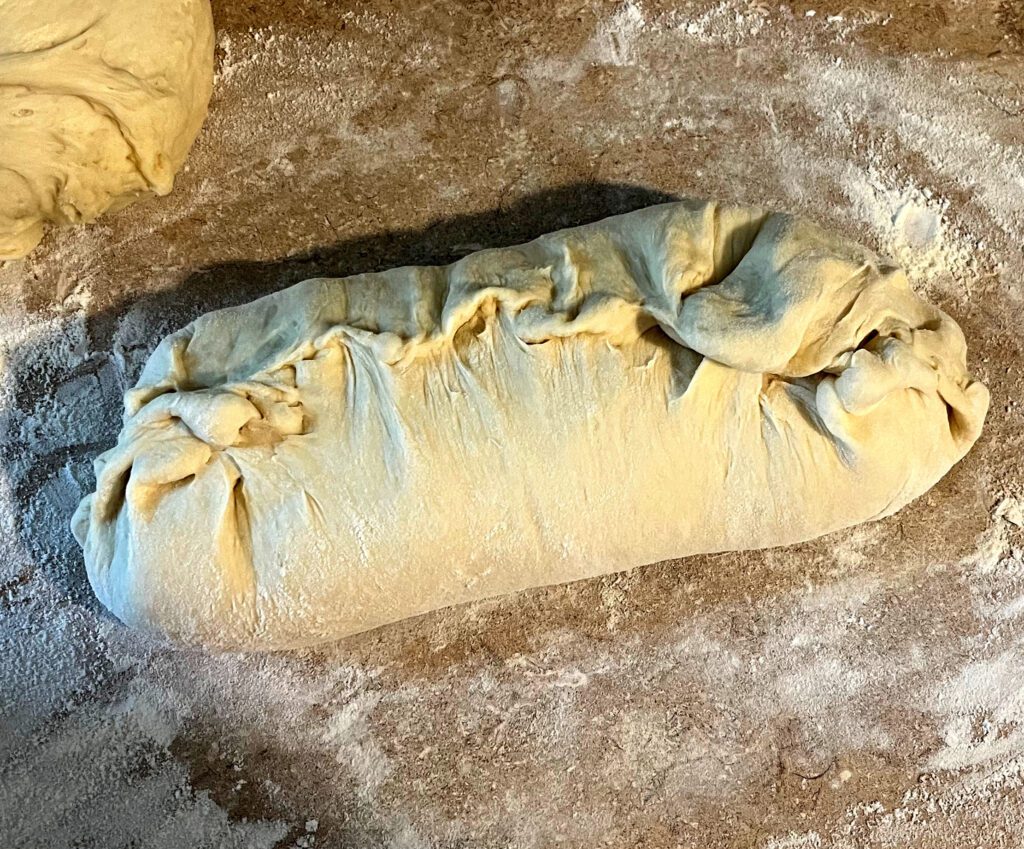
Put the seam-side down in the loaf pan, and set aside. Repeat this process for your other half of dough. Once you have the loaves in the pans, cover them with a dish towel and let rise again, until double in size.
Once they have doubled in size, you can preheat your oven to 350F. When the oven has preheated, place the loaves in the oven and bake for 30 minutes. You want the tops to be a beautiful golden brown!
Timeline For Baking This Bread:
9am: Gather ingredients for baking.
9:05am: Mix together ingredients and form dough.
9:20am: Place dough in a warm place to rise for the first time.
10:20am: Shape loaves and place them into loaf pans. Let them rise in a warm place for a second time.
11am: Bake the bread!
11:30am: Let the bread cool before removing from the loaf pans. Do not cut into the bread until it is cooled completely.

Easy Soft Sandwich Bread
Equipment
- Stand Mixer (optional)
- Dough Scraper or Knife
- Loaf Pans
- Measuring cups & spoons
- Oven
Ingredients
- 2 cups water (warm)
- 1 tbsp dry active yeast
- 1/4 cup honey (or corn syrup if allergic to honey)
- 2 tbsp salted butter (melted)
- 2 tsp salt
- 5 cups all purpose flour
Instructions
- Add warm water, yeast, and honey to the mixing bowl. Stir together gently with a spoon. Let it sit for 10 minutes or so, until the water is bubbly.
- Add melted butter, and salt to the mixture and stir with the spoon.
- Put 4 1/2 cups of flour into the bowl, and mix on a low speed using the dough hook, until dough is well combined and sticky. (You can also mix by hand.)
- Once the dough is combined and sticky, add the remaining 1/2 cup of flour, and mix until well combined. Remove the dough hook, and cover the bowl with a dish towel. Let it rise in a warm place for an hour, or until double in size.
- While you are waiting for the dough to rise, prepare your loaf pans by spraying with non-stick spray, or lining with parchment paper.
- Once the dough has risen, punch it down in the bowl, and then pour it onto a lightly floured surface. Shape the dough to where you can easily cut it into two equal portions, with a dough scraper or knife.
- Set one ball of dough aside, and flatten the other until it is about 1-1/2 inches thick, and about as long as the loaf pan. Roll it into a "log" and pinch the ends to close off the seam.
- Place the loaf seam side down in one of the loaf pans. Repeat the process for the other dough ball. Cover the loafs with a dish towel, and let rise in a warm place until double in size.
- When the loaves look about double in size, preheat your oven to 350F. Once the oven is preheated, place both loaves on the middle rack, and bake for 30 minutes. The tops will start to brown, and your house will smell delicious!
- Let them cool before removing them from the pans, and cutting into them. Enjoy your delicious soft homemade bread!
Notes
- Don’t forget to spray the measuring cup for the honey with oil or nonstick spray. This helps the honey slide right out of the cup, instead of mostly sticking.
- Make sure you let your dough rise in a warm place, 70 – 80 degrees F is ideal! You can always use your oven, as long as you only turn it on for a few minutes to warm up. Don’t let it get the dough too hot or it will kill the yeast before it is able to rise!
- Use parchment paper in your loaf pans to make it easier to lift the loaves right out of the pan after they have cooled!
Frequently Asked Questions
Why won’t my dough rise?
Your yeast may be dead. Make sure your yeast isn’t too old, and has been stored properly. You can test the viability of your yeast here. If your yeast isn’t the culprit, you probably aren’t rising the dough in a warm enough place.
Why is my dough stiff?
There are a couple of reasons this could be happening. You could have added too much flour, or not enough water. If you used the called for amount of flour, make sure you are measuring properly. The best way to measure flour is by using a spoon to scoop into your measuring cup, and then leveling it with the back of a butter knife!
Why is my bread dry?
If your bread is dry, consider these ideas: you may have overbaked it. If you baked it longer than the directions called for, or at a hotter temperature, it will likely turn out dry.
Do I need a stand mixer for this?
You can make this recipe by hand. A stand mixer just makes it easier and more hands-off.
Can I use bread flour for this recipe?
Bread flour will produce different results than all-purpose flour. I suggest using all-purpose flour like the recipe states!
More Scratch-Made Bread Recipes:
- Homemade Sourdough Bread
- Gluten-Free Sourdough Bread
- Einkorn Sourdough Loaf
- Homemade Cinnamon Rolls
- Soft and Fluffy Dinner Rolls


