How to Plant Garlic in Your Homestead Garden
Garlic is one of the easiest crops to grow, and it has so many amazing health benefits, as well as being a staple for cooking in my house! Learn how to plant garlic in your homestead garden, and how to properly store it so you can use home grown garlic all year long!
Why Should You Grow Garlic?
Garlic is not only a staple for cooking many different types of dishes, but it’s packed full of amazing health benefits! There is no such thing as having too much garlic! At least not in my eyes.
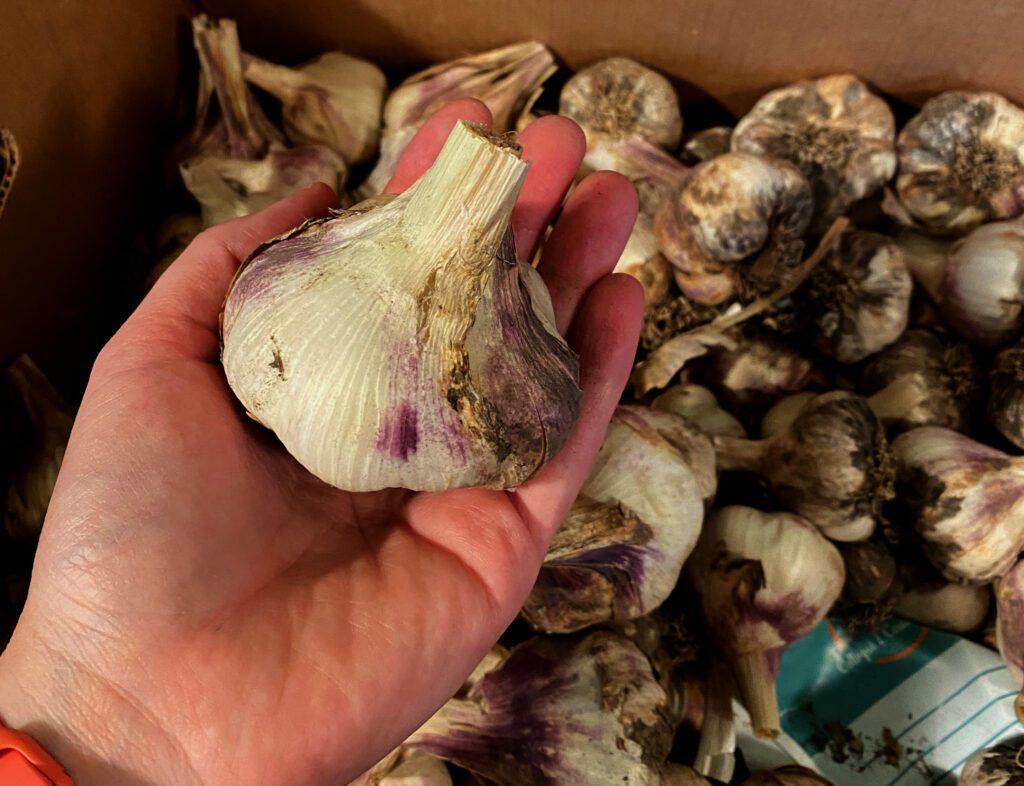
Garlic is a pretty easy crop to grow. The first year I ever grew garlic, I ended up with around 40lbs after harvesting. What did I do with all of that garlic? I replanted it. I also cooked with fresh garlic daily, made pickled garlic, and dehydrated it to grind into garlic powder! If you plant it once, you’ll have a never-ending supply of garlic!
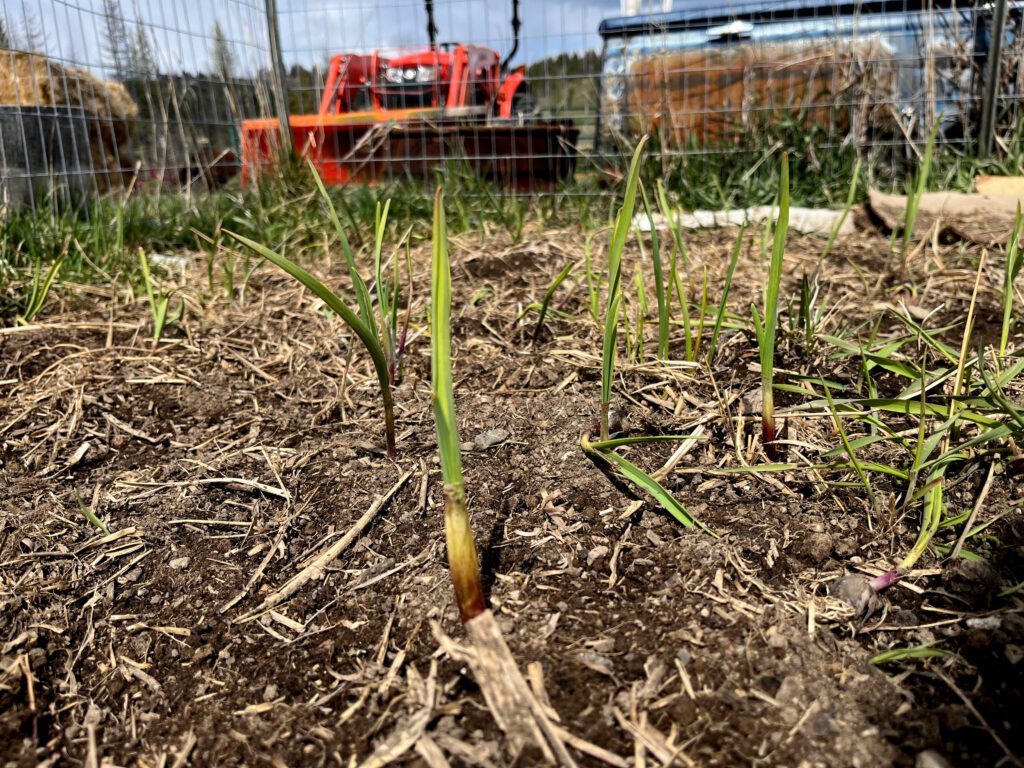
I have only bought garlic for growing one time! And since then, I have never had a shortage of garlic. In fact, I think I really do have too much garlic this year. I had missed a lot of bulbs in the ground when I harvested in the fall, and this spring I had so many sprouts, I haven’t even planted them all yet! (I know, you’re supposed to plant garlic in the fall, but I was slacking last year and winter came early.) It’s okay though, I planted a ton of it this spring and it will have plenty of time to grow into large delicious bulbs!
This article contains affiliate links, meaning I make a small percentage off of your purchase at no extra cost to you. Read my full affiliate link disclosure here.
What Can You do With a Never Ending Supply of Garlic?
Garlic is full of health benefits. Garlic has compounds in it that boost immunity. It also has antibiotic properties. You can use it to fight infections, the common cold or flu, and many other ailments. There are so many reasons to have garlic in your house! Garlic is even anti-inflammatory, and can help fight cancer, or diabetes as well! You can use it to make a honey garlic cough syrup, mullein garlic ear drops, and so much more!
Who doesn’t love the flavor of garlic? Not only is using raw garlic in your cooking every day good for you, but it tastes good! You’ll never have to buy garlic powder or granulated garlic again! Simply dehydrate it, grind it up, and you have garlic powder!
Garlic has many uses outside of consumption! You can use it to deter pests from your garden, and even make homemade bug spray! I bet you didn’t know that they even used to use garlic as glue! If you get a splinter, place some sliced garlic over it and it will draw the sliver and bacteria out!
Adding Garlic to Your Homestead Garden
If you want to plant garlic in your homestead garden, the first thing you should do is decide where you will be planting it. There are certain plants that you should not plant next to your garlic, such as: asparagus, chives, beans, leeks, onions, parsley, and peas.
Garlic loves to be in full sun, so make sure you plant it somewhere out of the shade. It does best with well draining, loamy soils amended with compost, but it can also grow in clay. You could also plant garlic in containers, as long as they are at least one foot deep, and you don’t overcrowd them.
The next step you need to take, is getting some garlic to plant! The best place to get seed garlic is from a local farmer, or farmer’s market. If you don’t have access to either of those, make sure you get organic garlic, most conventional garlic is treated with something that inhibits growth so they don’t start growing at the store.
How to Grow Garlic: Step-by-Step & List of Tools
Tools Needed for Growing Garlic:
- Hand Trowel – (this is a great set of tools with a handy basket if you don’t have some already)
- Garden Stool (optional but this saves your knees and has many uses in the garden!)
- Seed Garlic
Step 1:
The best time of year to plant garlic is in the fall, before the last freeze. You can also plant it in the spring though! I try to plant mine in the fall, but if that doesn’t happen I plant it in the spring as soon as the ground is workable. It can handle freezing temperatures, so no need to worry about waiting for the last frost date if you are planting in the spring.
Step 3:
Acquire your garlic. There are many places to get seed garlic. You can get it from a friend, order it online, get it from the farmer’s market, or even the store. But if you do get it from the store, make sure it’s certified organic, otherwise it could be treated with a growth inhibitor, preventing it from sprouting.
Step 4:
Find a spot for planting garlic, that gets full sun, and has access to watering regularly. You can plant your garlic in containers, but the bulbs will get bigger if planted in the ground. Ideally, the soil should be loamy, and well draining.
Step 5:
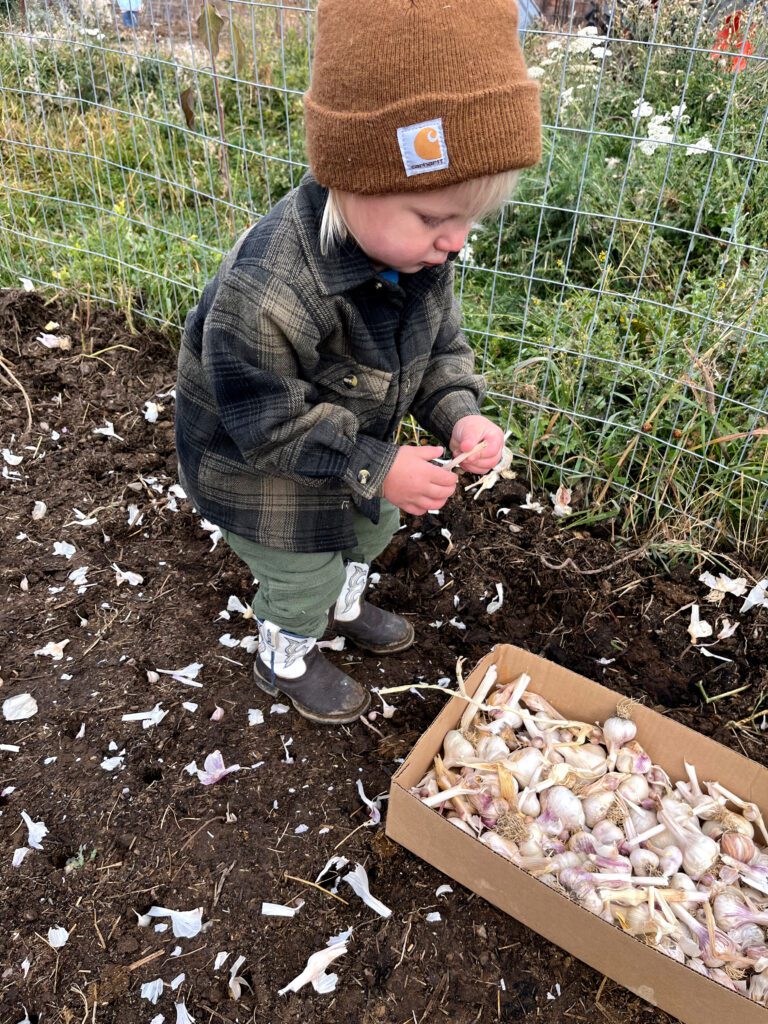
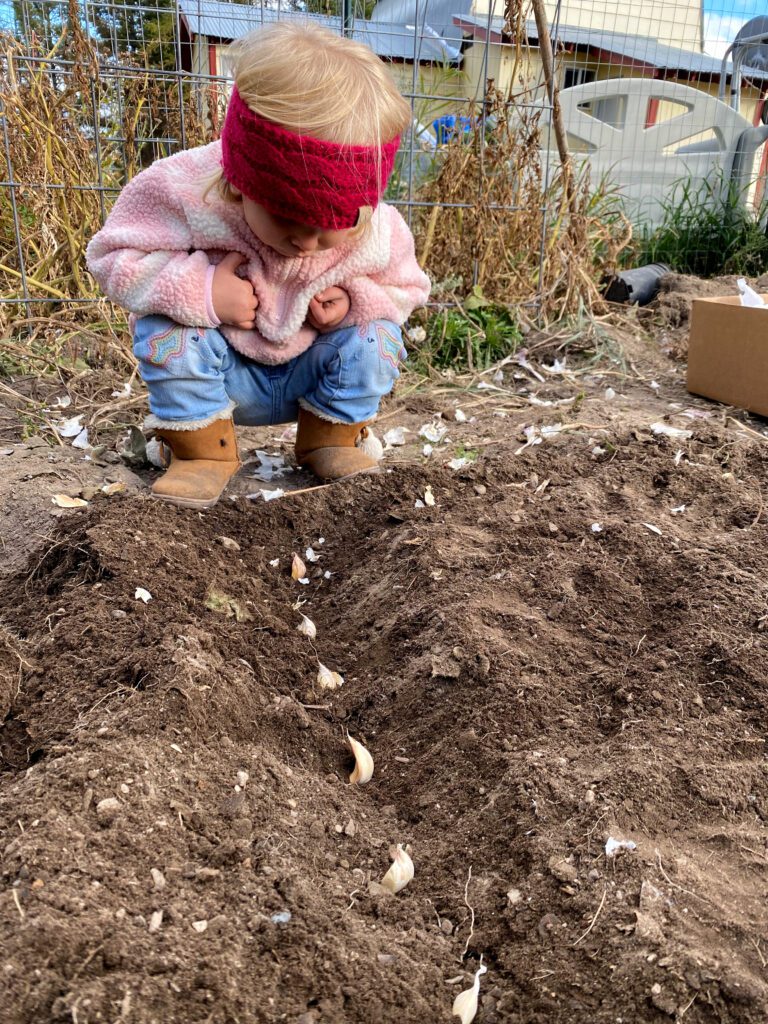
Now, plant the garlic bulbs 2-4 inches deep, and 4-8 inches apart. Plant as many as you can, or have room for. The more you plant, the more you will get, and like I said, there’s no such thing as too much garlic!
Step 6:
Lastly, cover them with straw. This helps insulate them during the winter, and also helps keep the weeds down.
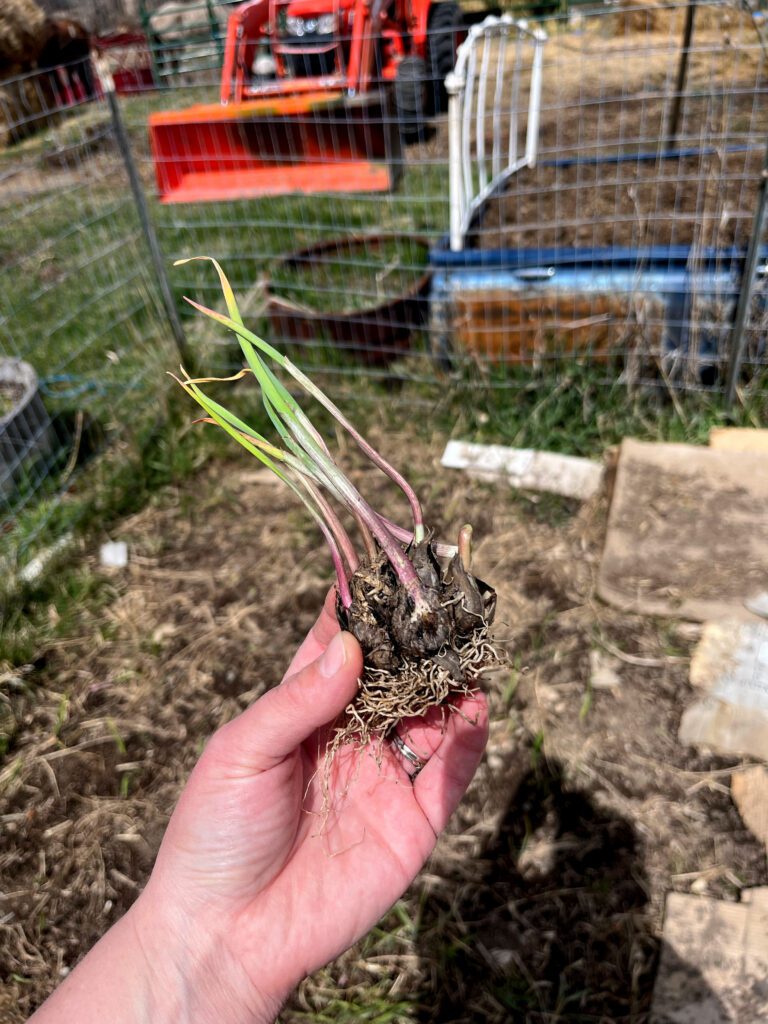
Pictured above, is some garlic that I left in the ground over the winter by accident. It started growing on it’s own, so what I did was split it apart, and re-plant it! This just goes to show how hard it is to kill garlic. I had several of these sprouting bulbs sitting in a 5-gallon bucket for a month, and they just continued to grow until I was able to plant them
Harvesting Your Garlic
How do you know when it’s time to harvest your garlic? Easy! When the bottom three leaves are dried and brown, it’s time! But you don’t just pull it out of the ground, there are some steps you need to take to make sure your garlic will keep for a long period of time!
Step 1:
Stop watering your garlic a couple of weeks before you plan on harvesting. This helps prevent the paper from splitting. If the paper splits, you won’t be able to store it long-term.
Step 2:
The time to harvest garlic is when the bottom three leaves are dried completely. Grab a shovel and gently loosen the soil around the garlic. You don’t want to just pull them out, because then the stems will break off. We want the stems in tact for the curing process.
Step 3:
Once you’re done loosening the soil with the shovel, gently remove the garlic from the clump of soil. Shake the loose dirt off and set aside. Now that you have harvested all of the garlic, it is time to cure it!
Curing Your Garlic and Preparing it for Long-Term Storage
Now it’s time to cure your garlic! You must do this in order to ensure that it lasts. Cured garlic can last months, even up to a year if stored properly! It also depends on the variety of garlic. I prefer growing soft-neck garlic because it lasts longer in storage. But I do plan on getting a patch of hard-neck garlic going soon, because soft-neck garlic doesn’t grow garlic scapes!
Step 1:
Shake as much dirt off of the garlic as you can. As it dries off, it will become easier to shake off.
Step 2:
Build a drying rack for your garlic, or find somewhere you can hang it. The stems can be braided, and hung from a porch if you want to get fancy, but I always just find a spot to lay it where it can dry fully. You can hang it on a fence as well, but don’t pile it on top of each-other so it gets air flow around all of the bulbs.
Step 3:
Let it be for a few weeks. Make sure it’s safe from the rain, so it can properly dry. This can take 3-4 weeks, maybe even longer depending on the humidity in your area. To tell if it’s done curing, cut a stem and if there is no more green left in the middle, that means it’s done.
Step 4:
Once the garlic has fully cured, it’s time to cut the stems off. I usually cut them off about two inches or so up from the bulb. This helps ensure the paper stays in tact, which is part of what protects the garlic and helps it keep longer.
Step 5:
It’s time to sort your garlic! Some of them will have split paper, and those are the ones you should plant, or use right away. With splits in the paper, they won’t last very long.
Garlic that has in-tact paper can be stored for several months, but needs to be stored in a cool, dry, and dark place. I put mine in a cardboard box in my pantry and it keeps for a very long time there! The length of time your garlic lasts depends on the variety. Check your local farmers market if you are looking for a variety that does well in your area. I have had great success with Inchelium Red, which is a soft-neck variety. I live at 4100ft in elevation, and we have long cold winters. Depending on your climate, you may need to find a different variety!
FAQ About Growing Garlic
How long does it take to grow garlic?
It takes about 9 months for the garlic to grow, and be ready for harvest.
How early should I plant my garlic in the fall?
You do not want to plant it too soon in the fall, otherwise it may sprout before winter, which will probably cause it not to make it. Plant it before your first frost in the fall.
Can I plant garlic that I buy from the grocery store?
Yes, just make sure you use organic garlic, otherwise it may be treated with growth inhibitors, preventing it from sprouting.
Should I soak garlic before planting it?
This is optional, personally I have never soaked my garlic before planting, and it has sprouted just fine. It’s up to you whether you want to add this step or not.
Can I plant garlic in the spring?
Yes, I have accidentally missed planting garlic in the fall before, and planted in the spring successfully. No need to worry about waiting until after the last frost, you can plant garlic in the spring as soon as the ground is workable!

