The Best Easy Gluten-Free Caputo Sourdough Loaf
Learn how to make the best easy gluten-free Caputo sourdough loaf! Slather it with butter, or toast it up with some jelly. This gluten-free sourdough has a chewy texture with a crispy crust, just like the real thing!
Endless Search for Easy Recipes
I don’t know about you, but I have never seen an easy recipe when it comes to gluten-free breads. So, I made it my mission to figure out how to make an easy gluten-free sourdough recipe. Regular sourdough is easy to work with, so why not gluten-free sourdough too?
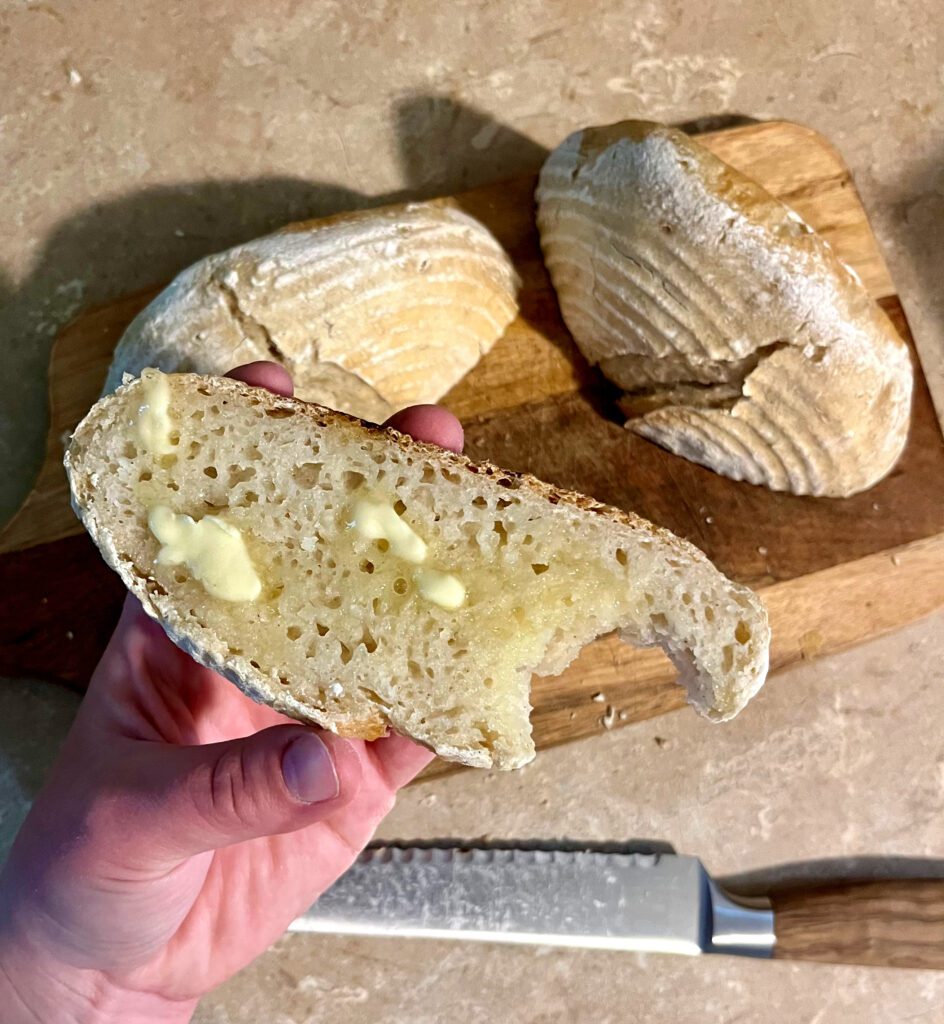
After a few times of trial and error, I finally got it perfected and now I get to enjoy a nice toasted slice of sourdough with my breakfast in the morning. It has that signature chewy, robust taste, and truly you would not believe it is gluten-free if I didn’t tell you!
This easy gluten-free Caputo sourdough loaf makes great sandwiches, toast, or just a plain slice with butter slathered on top! If I’m not careful, I could easily eat the whole loaf in one day!
What Makes This The Best Gluten-Free Sourdough
Easy to Make
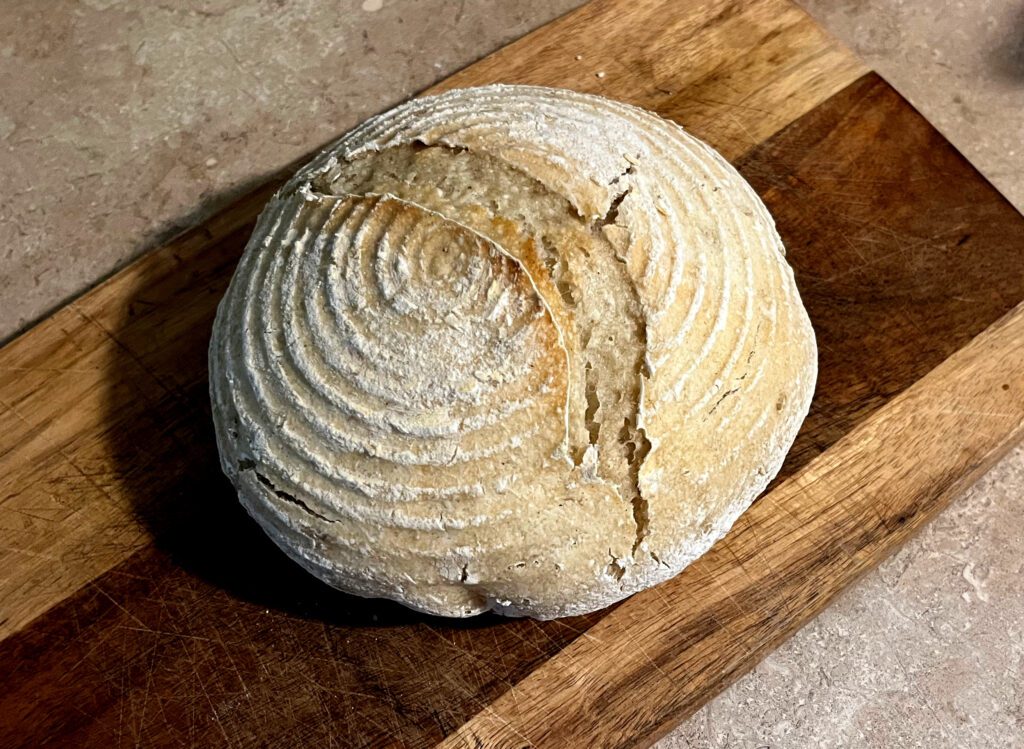
This gluten-free Caputo sourdough is easy to make, a lot like regular sourdough. It just requires a few ingredients, instead of 20 different special flours. All you need are 5 ingredients and you’ll have a delicious loaf of gluten-free sourdough!
It is an all day process, a lot like regular sourdough, but don’t worry! It’s pretty easy and you don’t have to babysit! I just let it sit out on the counter overnight and it’s ready to bake first thing in the morning!
Taste’s Like the Real Thing
This gluten-free sourdough tastes like the real thing. It has a delicious sour taste, and a crisp chewy crust. It is so much like the real thing, you will be questioning yourself about whether it’s actually gluten-free!
This article contains affiliate links, meaning I make a small percentage off of your purchase at no extra cost to you. Read my full affiliate link disclosure here.
Making Gluten-Free Sourdough
What Tools Will I Need?
- Large Mixing Bowl – For mixing the ingredients together
- Wooden Spoon – For stirring the dough
- Kitchen Scale – Needed for ensuring ingredients are measured properly
- Mini Banneton Basket – For proofing
- Dutch Oven – This is the best way to bake sourdough to get a beautiful chewy, and crisp crust!
- Parchment Paper – Used for lowering the bread in and out of the Dutch oven.
Ingredients?
- Gluten-Free Flours – you will need a gluten-free all purpose 1:1 flour, and Caputo gluten free flour. (this one is non-neogtiable.) Caputo flour is certified gluten-free, and safe for celiacs. If you are wondering if it is safe for you, you can read more about that here to make sure it is safe for you.
- Water
- Salt
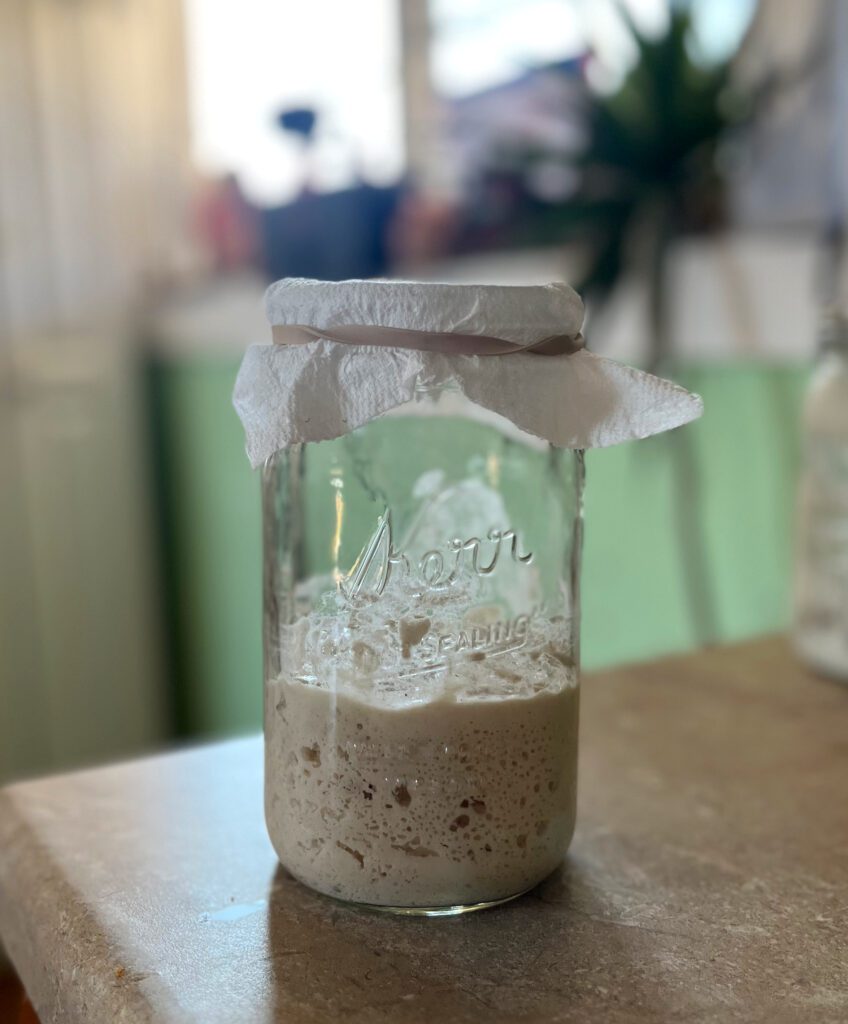
- Gluten-Free Sourdough Starter
That is all you will need to make this bread! I was weary of using Caputo flour at first, because it has gluten-free wheat starch listed as an ingredient. So, how is it possible for wheat starch to be gluten-free? I have done my research, and tested it and have no adverse reactions. I linked a couple of resources for you to check out above if you are concerned. This flour is a game changer for gluten-free baking!
Gluten-Free Sourdough Timeline
Day 1:
8am: Feed sourdough starter with flour and water.
1pm: Then, gather your tools and ingredients and get things ready to get started! (you may have to wait a little longer if your sourdough starter isn’t quite ready yet. You can also feed your starter the night before, and start this process first thing in the morning.)
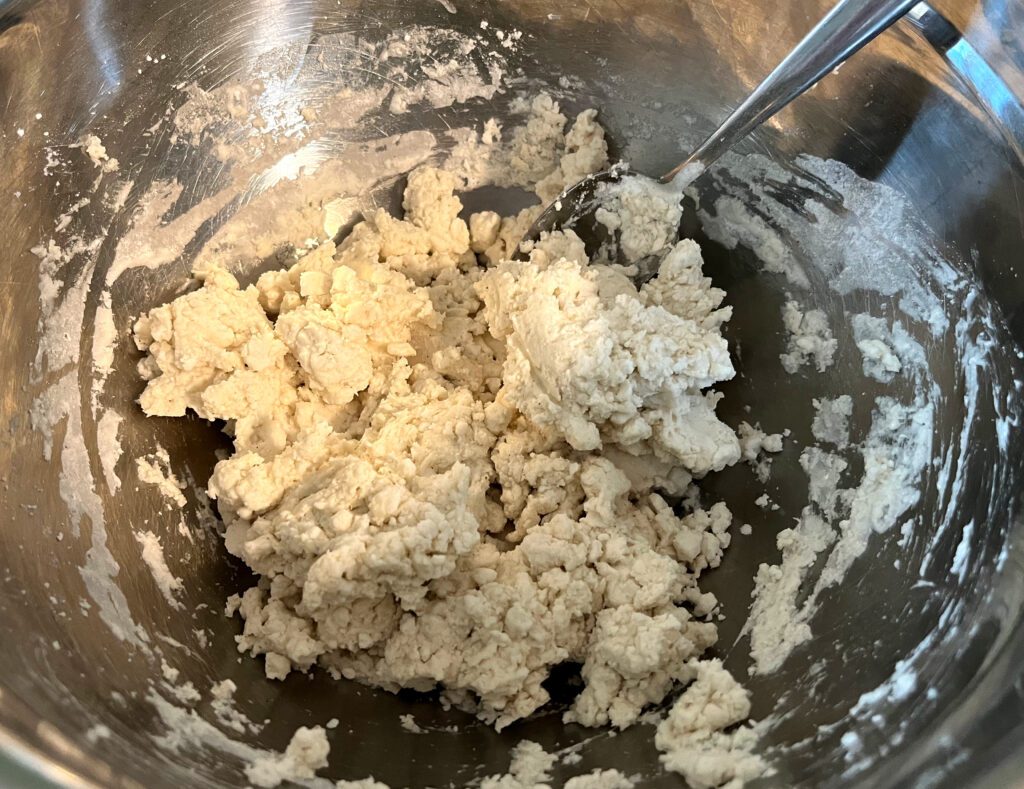
1:15pm: Next, put your mixing bowl on top of the kitchen scale. Add sourdough starter to the bowl, followed by the gluten-free all purpose flour, salt, caputo flour, and water. Make sure to reset the scale in-between adding each ingredient to ensure you are adding the correct amounts. Mix everything until well combined, and you are able to pick it up with your hands. Cover the bowl with plastic wrap and let it rest for 30 minutes.
1:45pm: Now, return to the dough and knead it in your hands for about one minute. I do this by stretching the dough apart before it starts to rip, and then folding in half. Do this about five times before placing the dough back into the bowl to rest again for another 15 minutes or so.
2pm: Next, knead the dough for one minute again. Repeat this process two more times.
2:30pm: Now that you’ve finished the process of kneading the dough several times, it’s time to let it rest for a couple of hours.
4:30pm: Lightly flour a mini banneton and place the dough seam side up in the basket. Cover with plastic wrap, and set aside on your counter where you can leave it be overnight. Letting it sit for 12 hours is ideal, but six to eight would probably suffice. Feel free to adjust your time frame to whatever schedule works for you, the times I provided are just an example of the timeline.
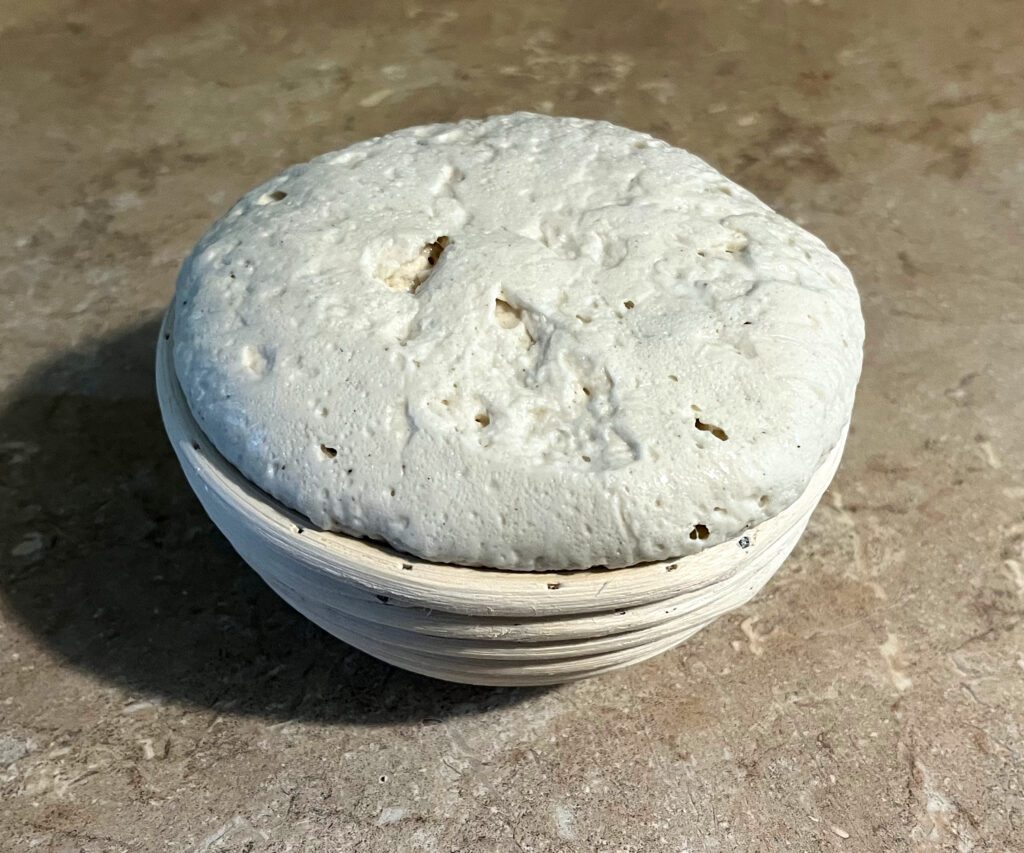
The next morning:
4:30am: Preheat your oven to 450F for 15 minutes with the Dutch oven inside. While you are waiting for the oven to preheat, place a piece of parchment paper over the top of the banneton, and then use it to flip the dough out. The dough should now be face-up on the parchment paper. Using a sharp knife, or a bread lame, make a slice in the top of the bread. Feel free to get fancy with this, but I usually don’t.
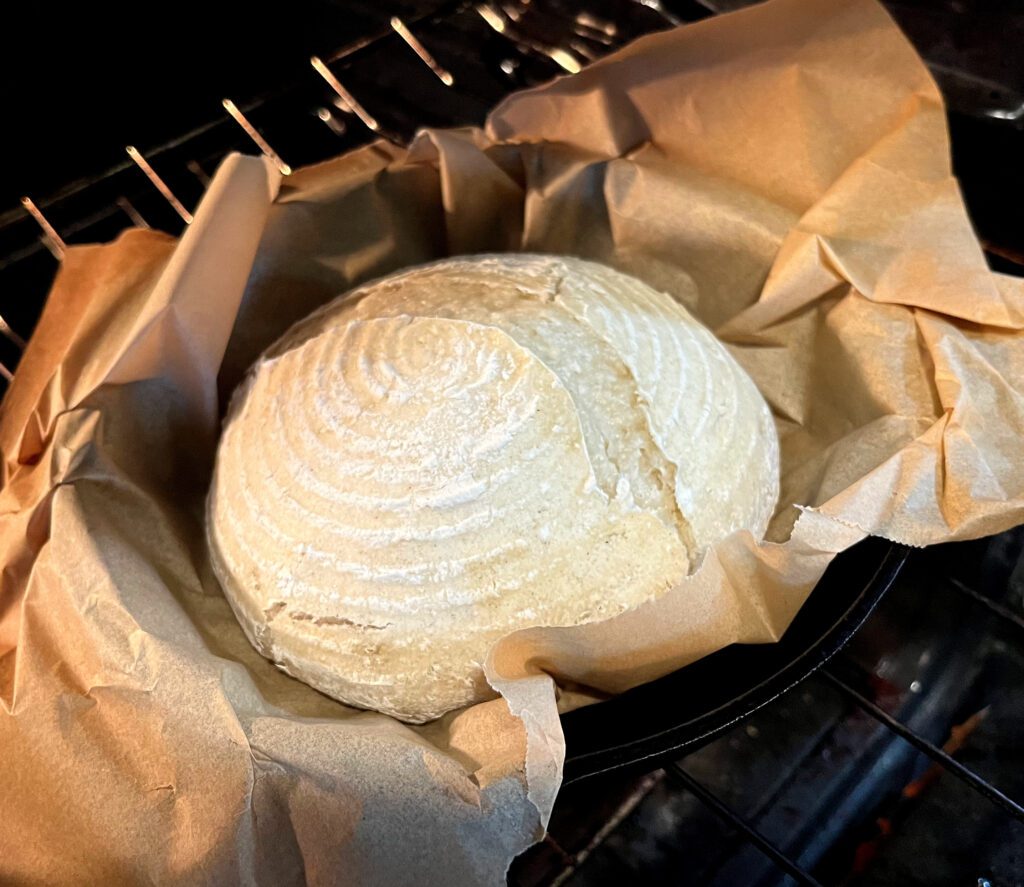
4:45am: Once the oven has preheated, use the parchment paper to lift the bread into the Dutch oven. Lightly spray or sprinkle some water around the top of the bread. This helps steam the crust and give it the bubbly and crispy texture. Cover with the lid, place in the oven and set a timer for 30 minutes.
5:05am: Once 30 minutes have passed, remove the lid from the Dutch oven, and return the bread to baking. Bake for another 15 minutes with the lid off.
5:20am: Once the bread turns slightly golden, it is ready. It will not get very golden because of the flour used, but trust me, it is done! Remove the bread from the oven, lift it out of the Dutch oven using the parchment paper, and try your best not to cut into it until it has cooled for a while!
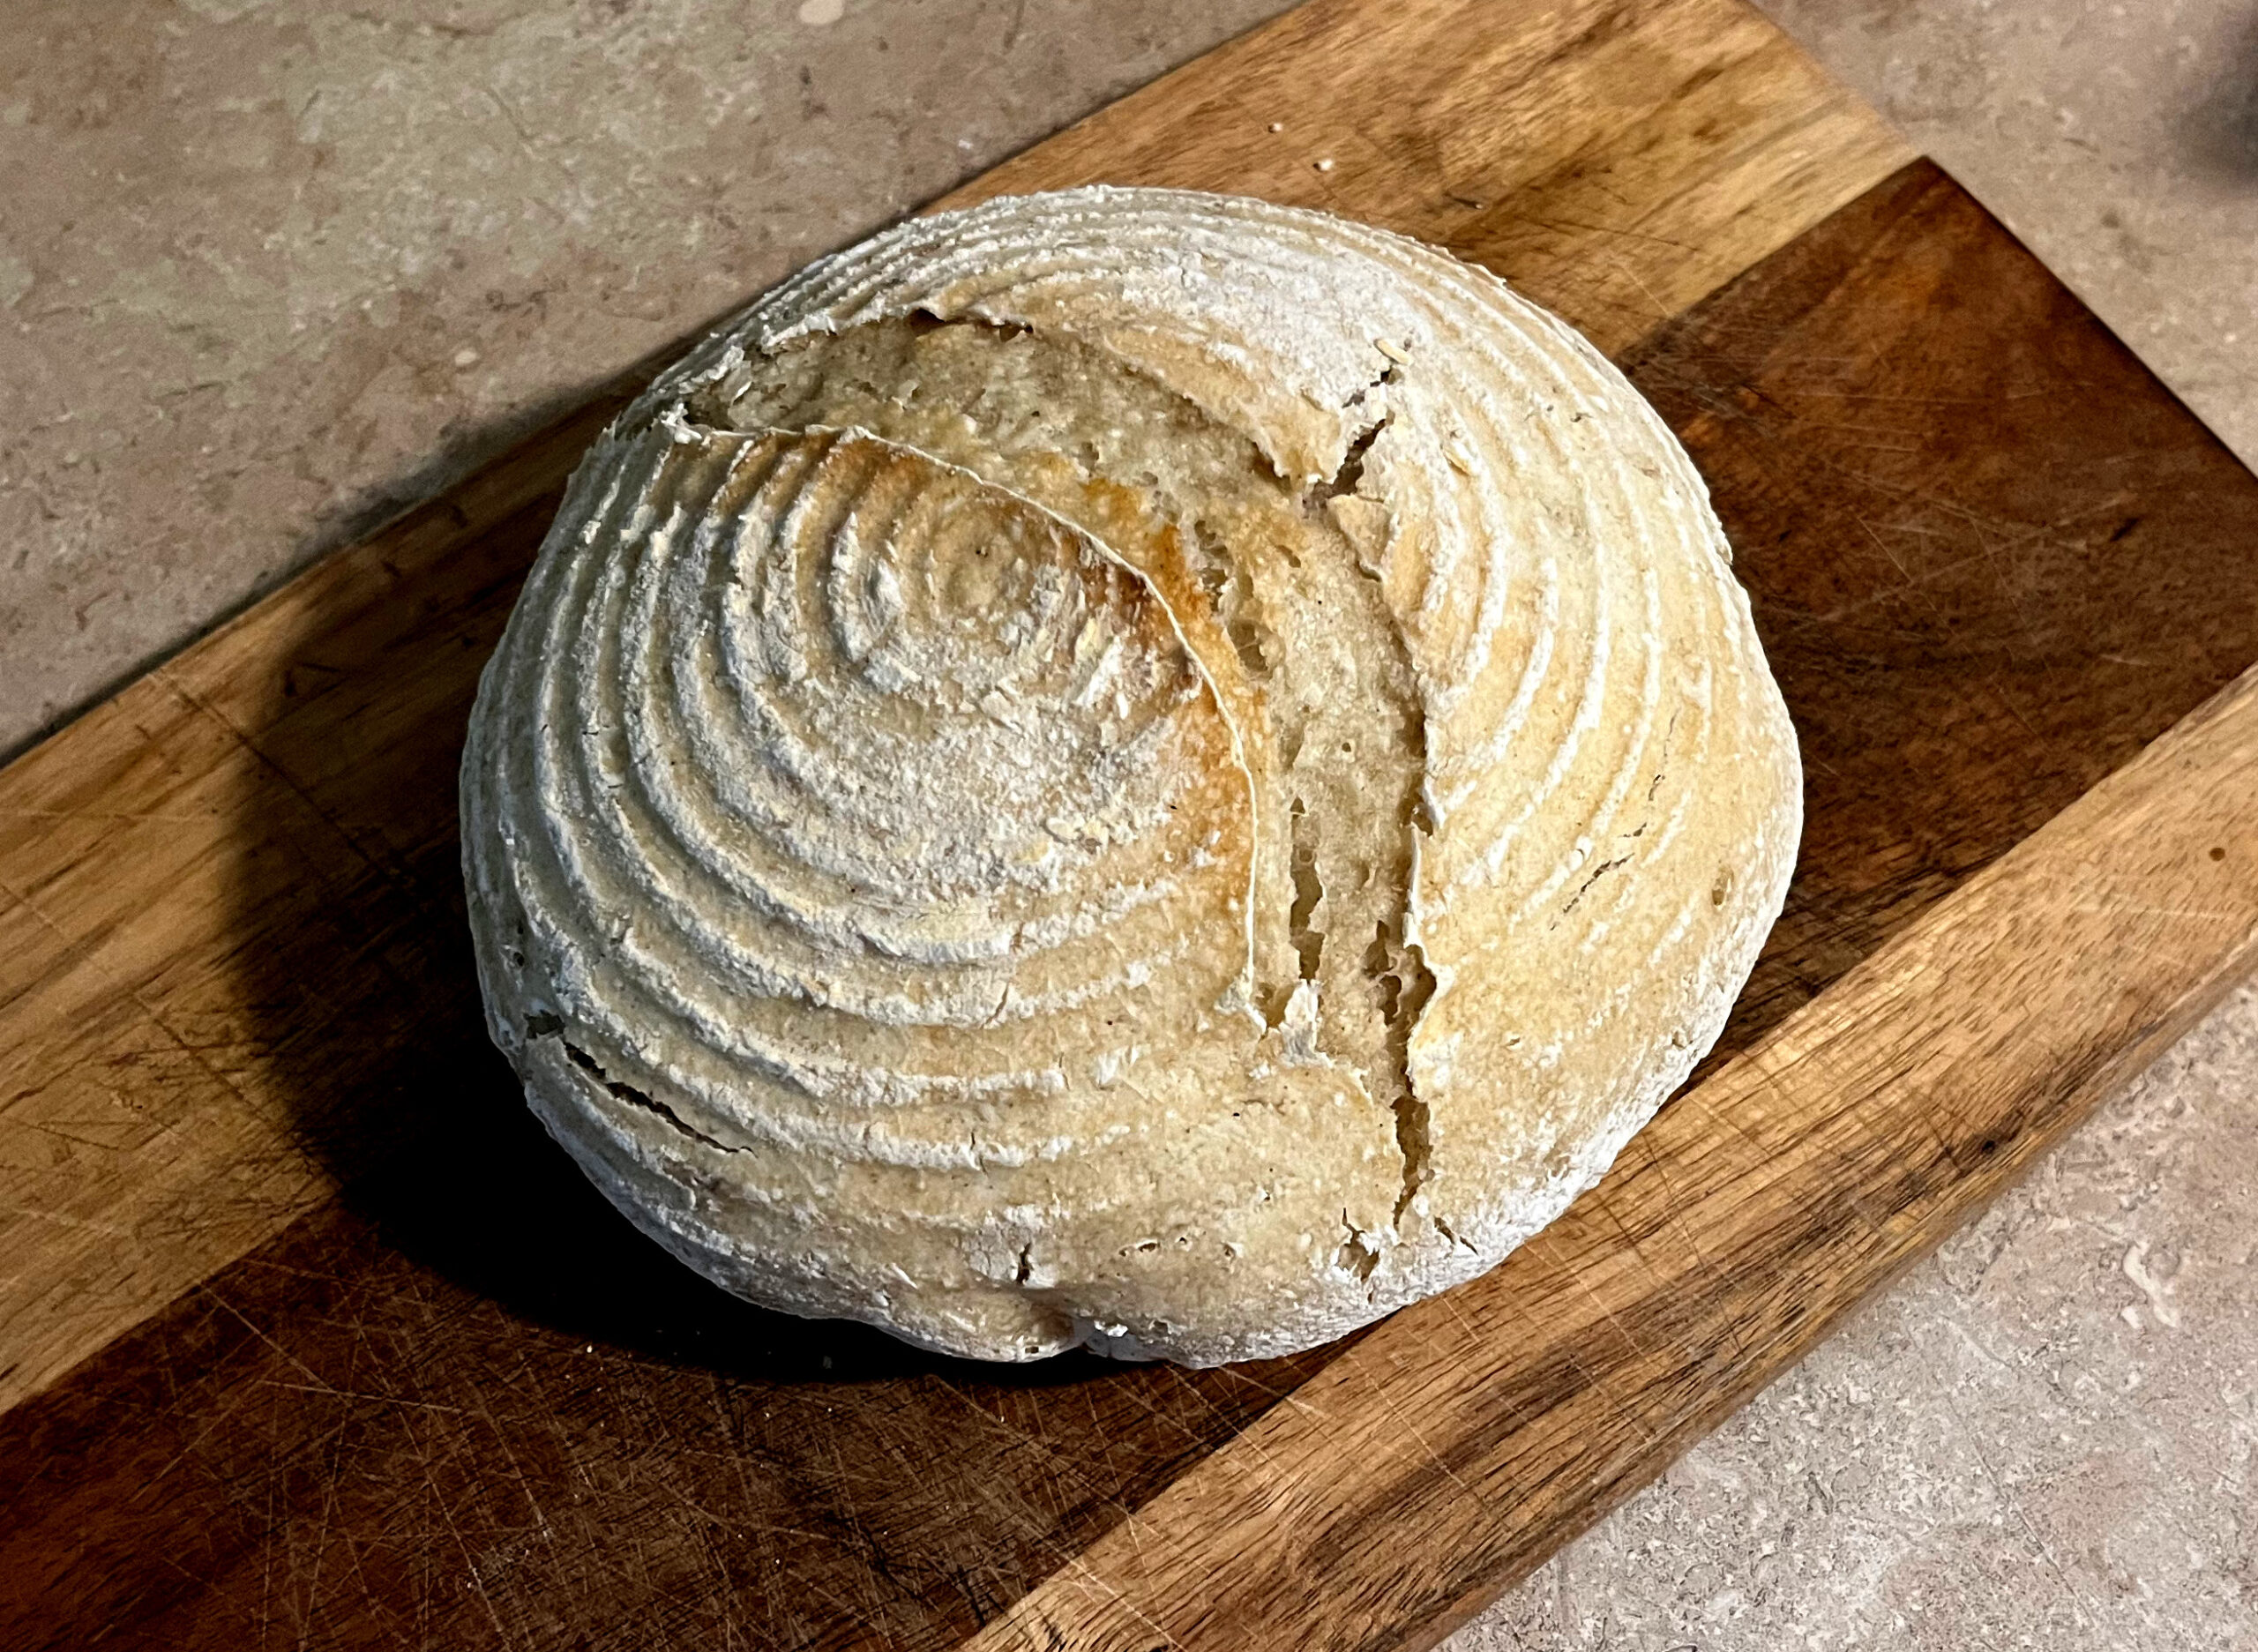
Gluten-Free Sourdough Loaf
Equipment
- 1 Mixing Bowl
- 1 Wooden Spoon for mixing
- 1 Kitchen Scale
- 1 Dutch Oven
- Parchment Paper
Ingredients
- 150 grams GF Sourdough Starter
- 30 grams GF All Purpose Flour
- 150 grams Caputo GF Flour
- 8 grams salt
- 130 grams water lukewarm
Instructions
Prepare the Dough
- Feed starter 6-12 hours before starting this recipe.
- Add the starter, both flours, salt, and water to the bowl. Make sure you are resetting the scale between each ingredient.
- Let the dough rest for 30 minutes after mixing.
- Return to the dough and knead it with your hands. I do this above the bowl by stretching it apart, and then folding it in half. Repeat this process 4 times, every 20 minutes.
- Cover the dough with plastic wrap and let rest for a couple of hours.
- Once a couple hours have passed, prepare a mini banneton basket by sprinkling some flour inside. Remove the dough from the bowl it has been resting in, and shape the dough and place it seam side up.
- Cover the dough with plastic wrap and leave it on the counter for 8-12 hours.
Baking
- After 8-12 hours have passed, preheat your oven to 450F with the Dutch oven inside for 15 minutes.
- While you are waiting for the oven to preheat, use a piece of parchment paper to flip the dough out of the banneton. The dough should be facing up now. Using a sharp knife or a bread lame, make a slit in the top of the dough.
- Once the oven has preheated, lower the dough into the Dutch oven using the parchment paper. Spray or sprinkle some water around the sides (this helps with steam to get that perfect bubbly & crispy crust.)
- Place the lid on the Dutch oven and bake the bread for 30 minutes. Once 30 minutes have passed, remove the lid and bake for another 15 minutes.
- Once the time is up, remove the Dutch oven from the oven, and then lift the bread out of it using the parchment paper.
- Allow the bread to cool completely before slicing open.
- Slather on some butter and enjoy a delicious slice of gluten-free sourdough!
Notes
- I know it’s hard, but let the bread completely cool before slicing into it. If you cut your bread too early, it may be gummy.
- The bulk fermentation time will vary based on a number of factors, especially the temperature of your home. Ideally, your dough will double in size and have bubbles throughout.
- It is important to preheat your Dutch oven.
- If the bottom of your loaf of bread consistently gets too dark, try adding a baking sheet or baking stone under your Dutch oven.
- You need to use an active starter for this recipe.
- Make sure to brush the excess flour off of the loaf before baking, if there’s a thick layer the crust will become unpleasantly hard.
FAQ About Baking Gluten-Free Sourdough
Can I use any gluten-free flour for this recipe?
No. You can use any gluten-free all purpose flour, but the Caputo gluten-free flour is not replaceable in this recipe. It will not turn out.
Do I have to use a gluten-free sourdough starter for this recipe?
Yes, you can use any gluten-free sourdough starter, but it must be gluten-free in order for the loaf to be gluten-free.
Does gluten-free sourdough taste like regular sourdough?
Yes, this gluten-free sourdough tastes like the real thing. The texture is very similar and the taste is just like regular sourdough!
Why is my bread getting hard after cooling?
This means the moisture content is too low. This is why it’s suggested to use the exact flours listed for the ingredients.


